Auto Responders
Auto Responders are emails that get sent automatically when triggered by an action. Welcome letters, unsubscribe confirmations, and purchase receipts are all examples of auto responders.
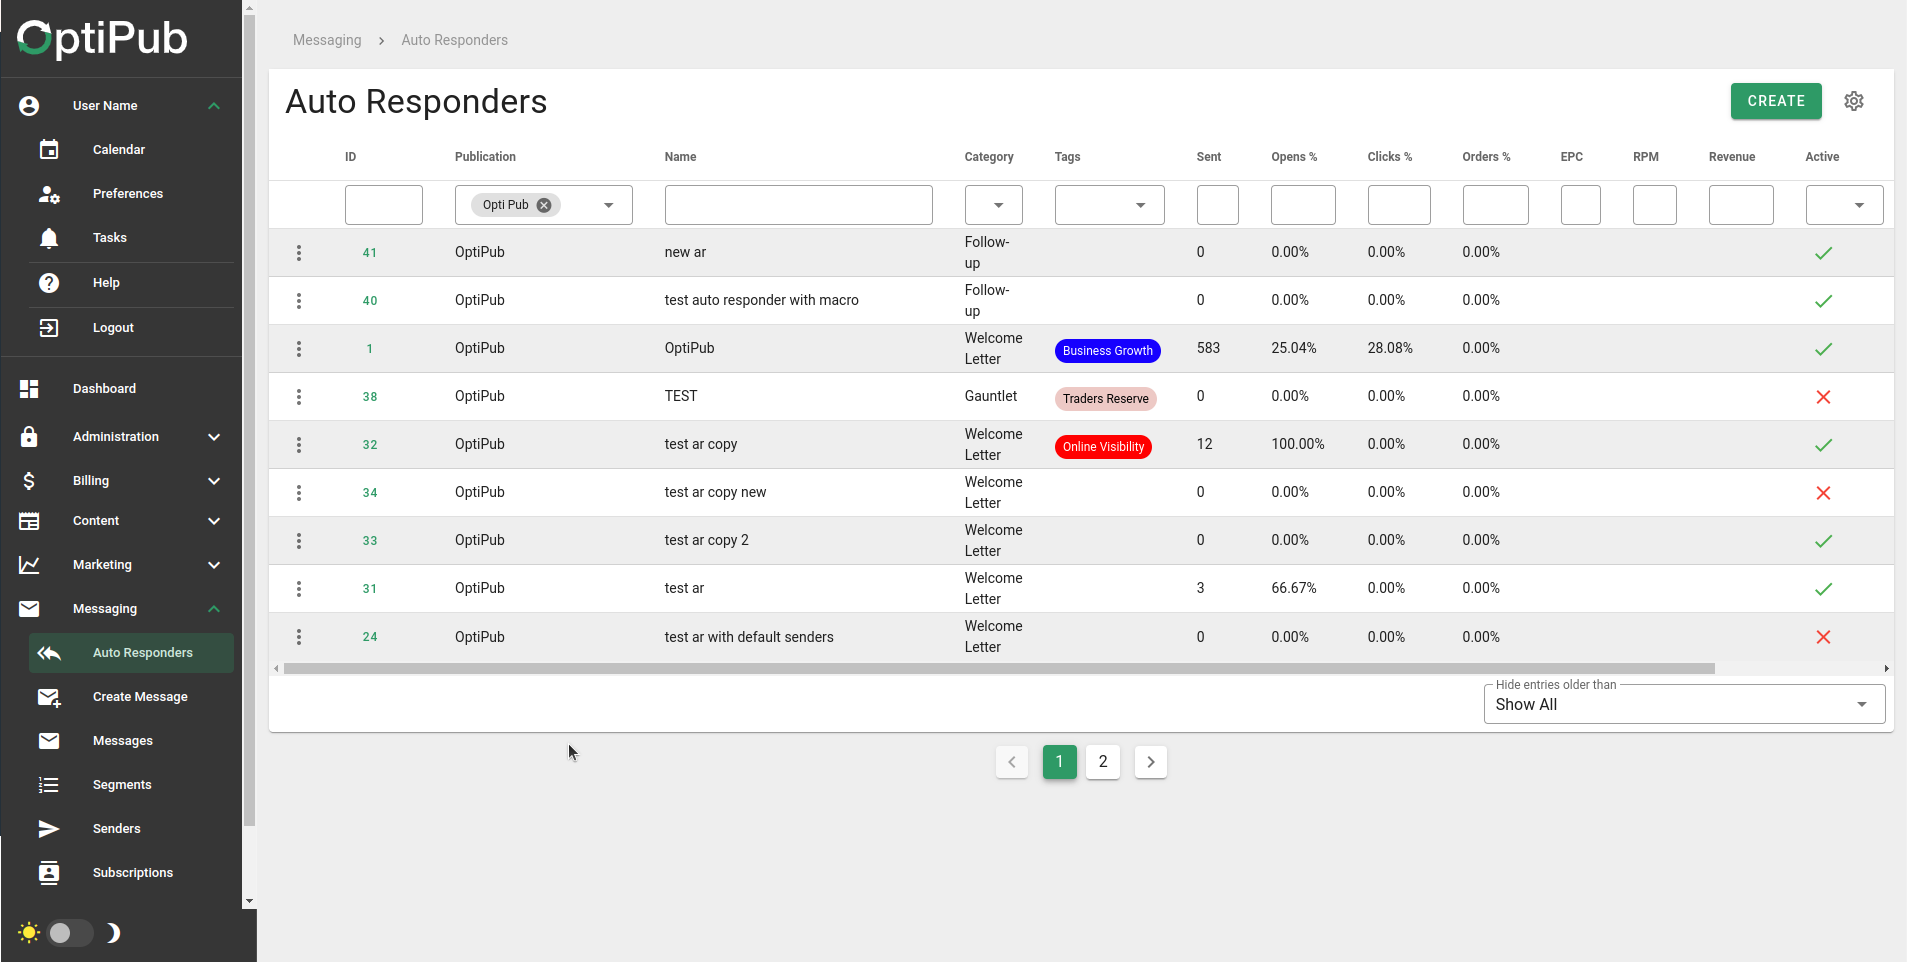
The Auto Responders page.
Types of Auto Responders
The types of auto responders available differ for every installation. Auto responder types are defined in Administration > System Settings > Categories.
Create an Auto Responder
You need at least one publication with a valid sender and one auto responder category before you can create an auto responder.
- Navigate to Messaging > Auto Responders and click the green Create button.
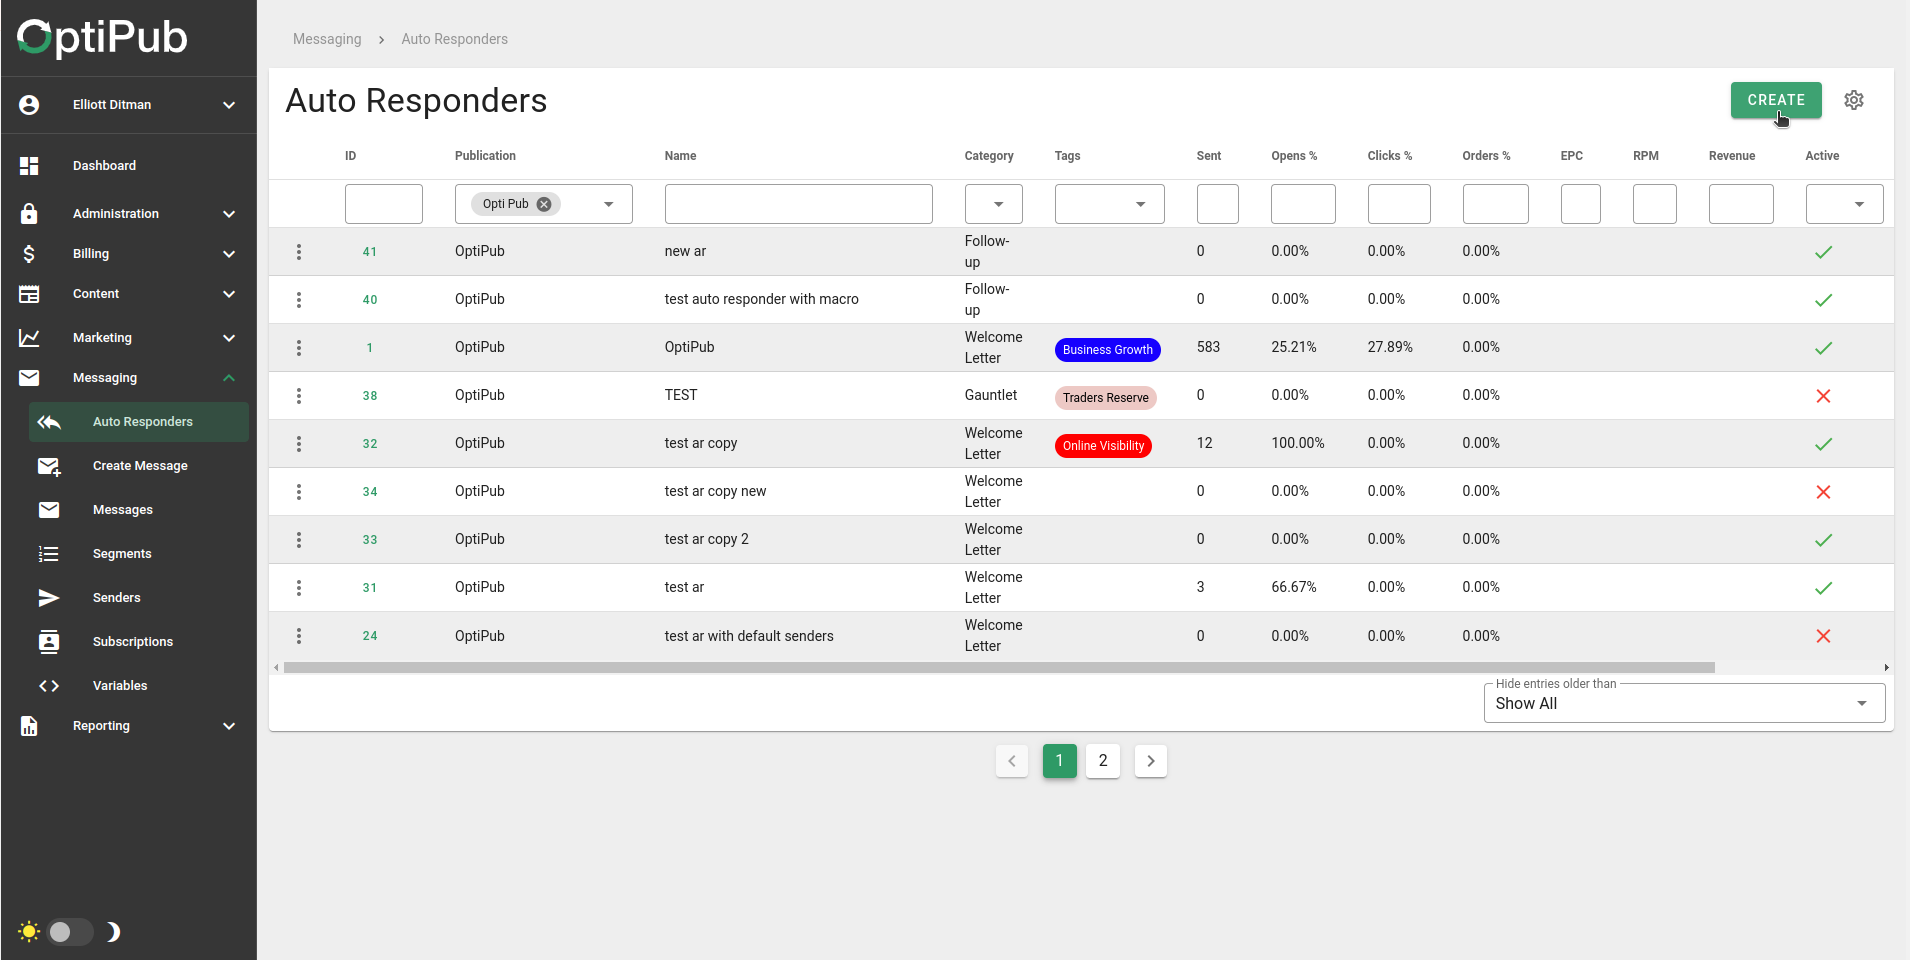
The Auto Responders page.
- Fill in the required fields:
| Field | Required | Description |
|---|---|---|
| Name | Yes | Internal name for the auto responder. Not visible to subscribers. |
| Publication | Yes | The publication this auto responder belongs to. |
| Category | Yes | The auto responder type, defined in System Settings > Categories. |
| Default | No | Make this the default auto responder for the publication + category combination. |
| Sender | No | Override the publication's default sender. |
| Template | No | Choose a template — auto responder content will be injected into it. |
| Binding | No | Override the publication's default sending IP binding. |
| Campaign | No | Associate this auto responder with a campaign. |
| Effort | No | After selecting a campaign, optionally pick a specific effort. |
| Tags | No | Add tags to categorize the auto responder. |
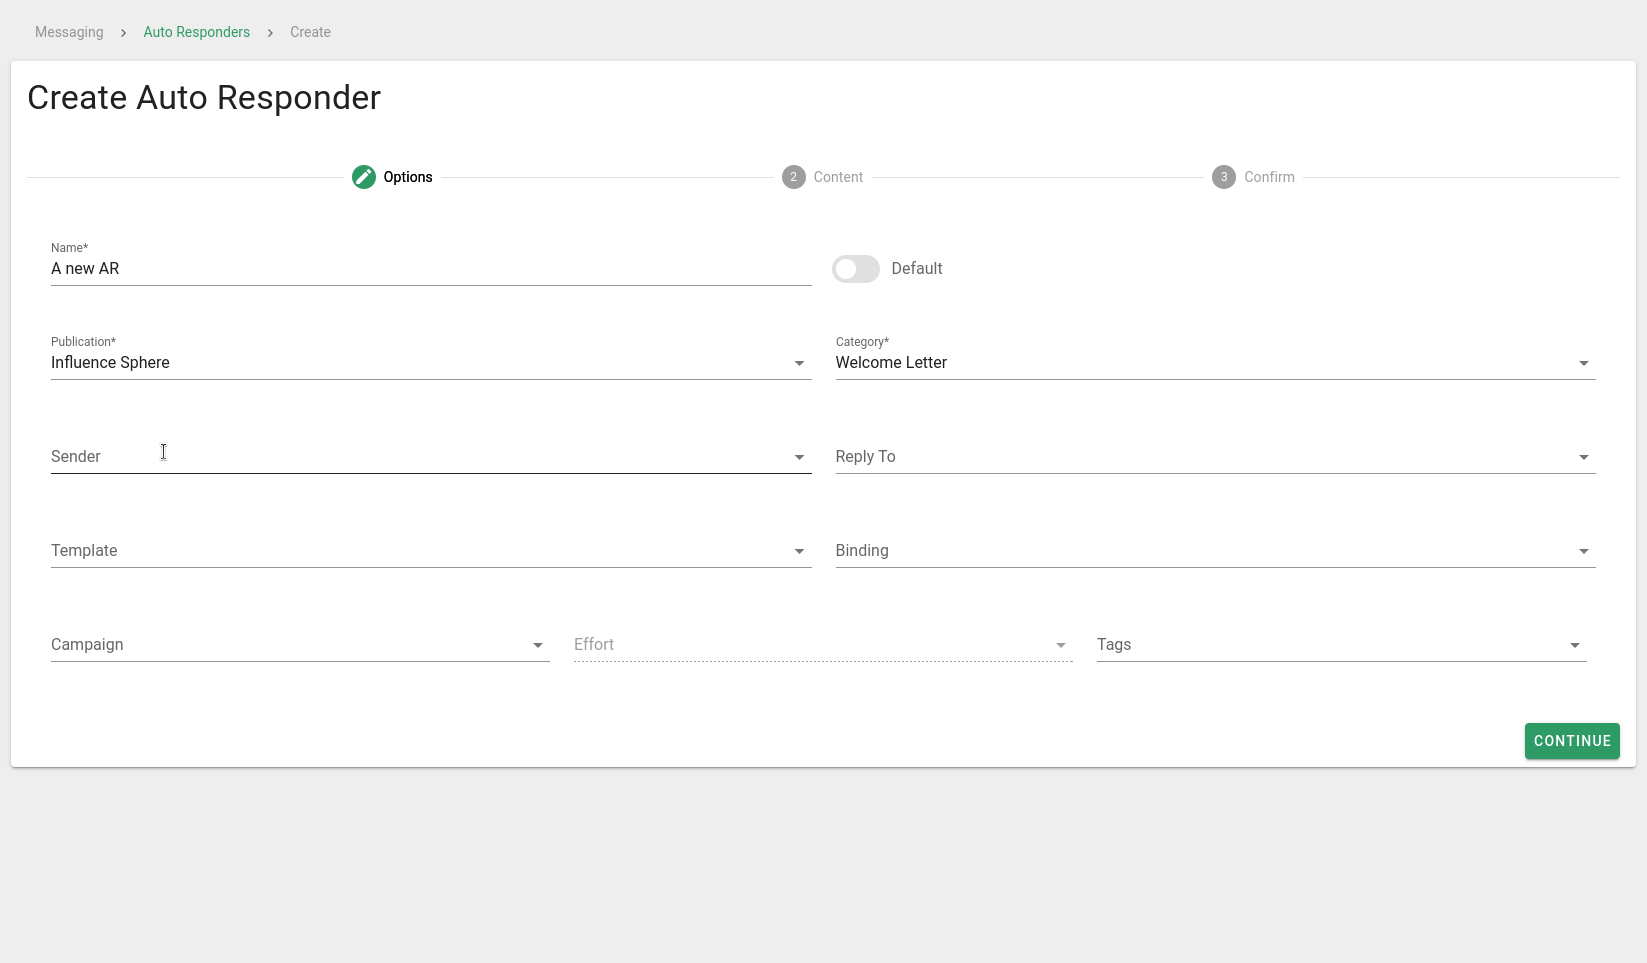
Configure the Auto Responder options.
- Write the content:
| Field | Description |
|---|---|
| Subject | The email subject line. Required. |
| Preview Line | Short text shown next to the subject in some email clients. |
| Content | Build the email body using the drag-and-drop content editor. |
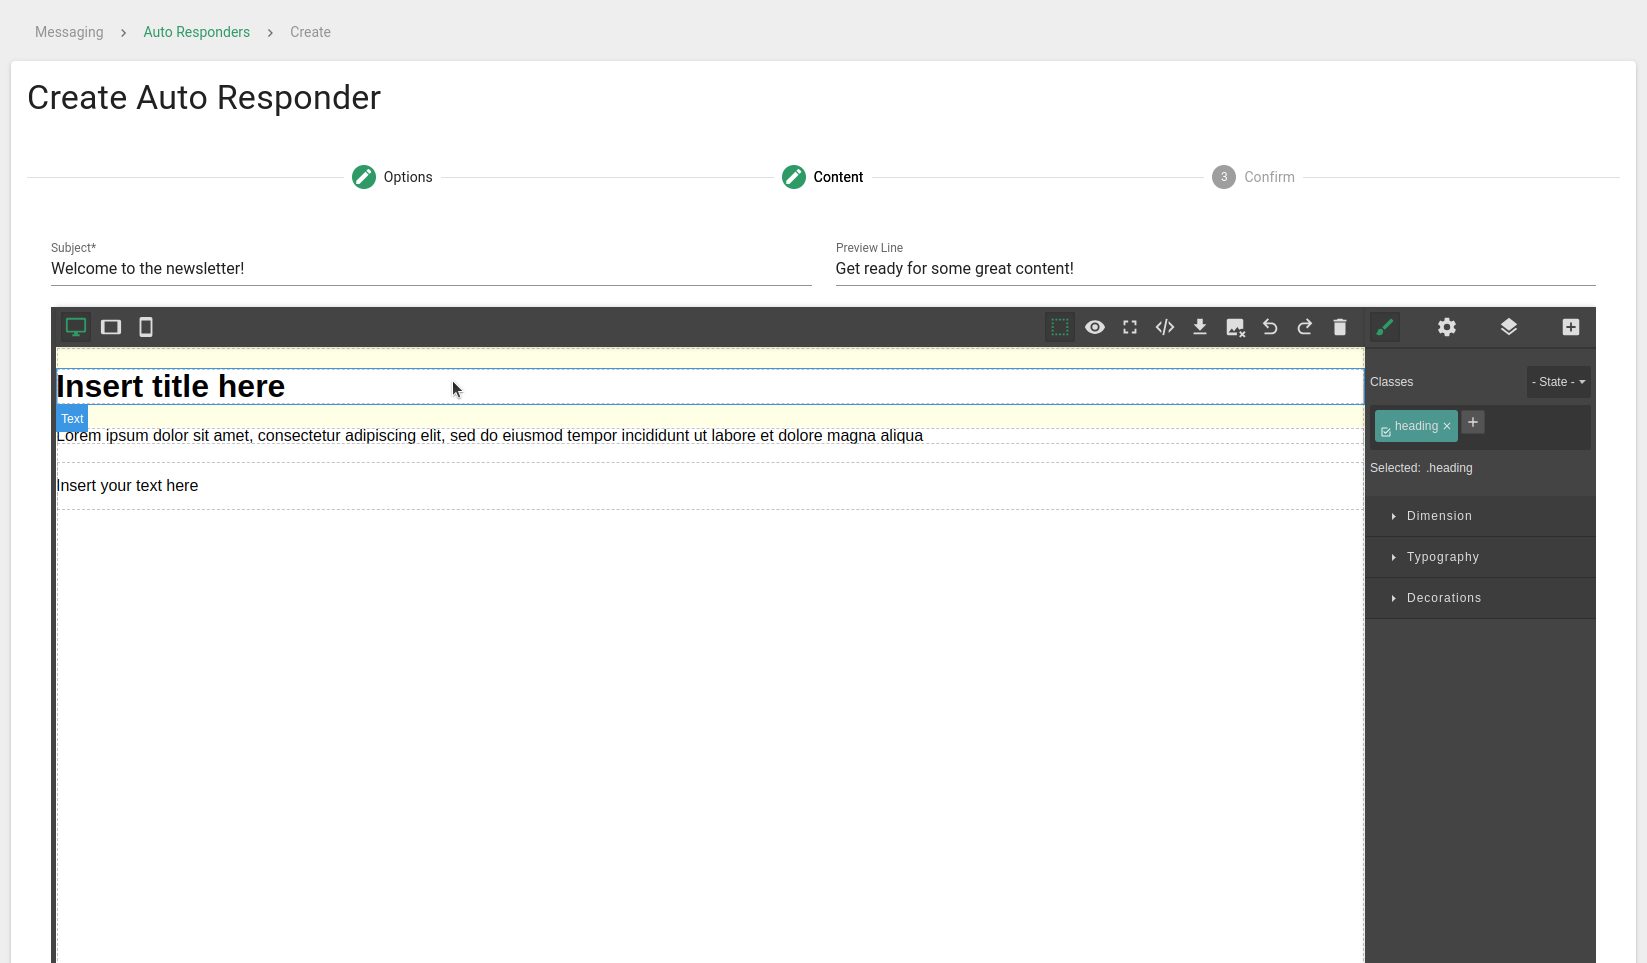
Creating the Auto Responder content.
-
(Optional) Click Send Test Email to preview the auto responder in your inbox before saving.
-
Review and click Save.
Updated 4 months ago
What’s Next
Did this page help you?