Create a Campaign
Here is a step-by-step guide to creating campaigns in OptiPub.
NoteBefore you start creating most types of campaigns, you should already have created an Order Page and/or a Promo. Also you will need to Create a Partner.
Inactive CampaignsDeactivating a campaign does not deactivate previously generated links, it only hides the campaign from being selected throughout the app.
Inactive campaigns disable the ability to generate new links.
ERROR: Attempting to generate new links on an inactive campaign will cause anUnexpected error
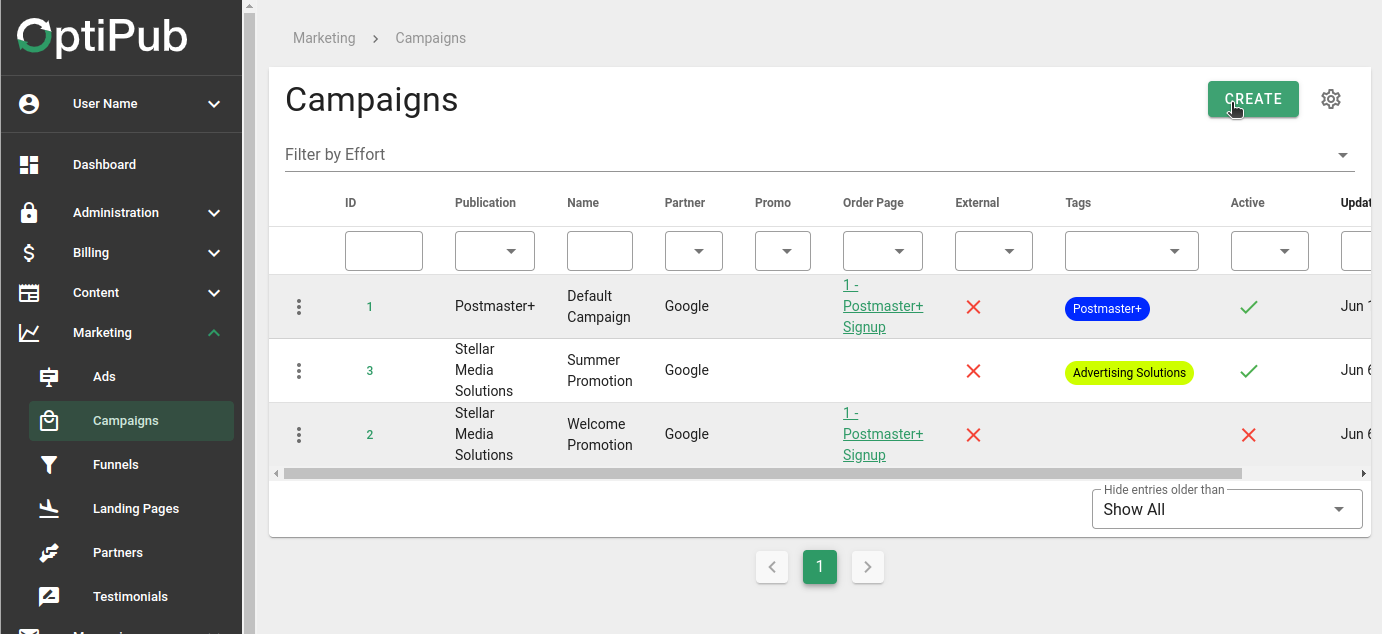
The [CREATE] campaign button.
Step 1. Creating a Campaign.
OptiPub > Marketing > Campaigns
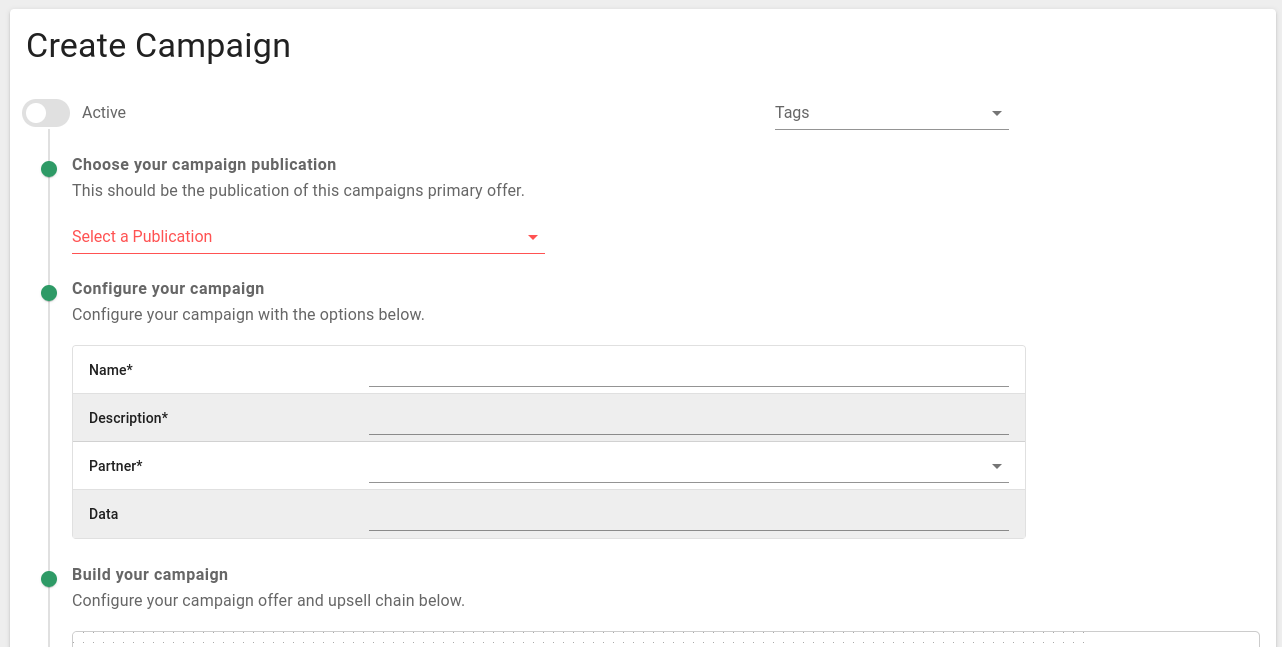
Create campaign options
-
Inactive campaigns are hidden from selection in most OptiPub tools.Toggle theActivecontrol on or off.
Deactivating a campaign will not deactivate the campaign's generated links or associated landing pages. -
Use Tags to identify and group campaigns based on shared promotions, events, periods, locations or anything else that is or isn't covered by OptiPub's campaign attributes.(Optional) Tag the campaign. -
The campaign publication must match the publication of the primary offer.Choose your campaign publication.
Even if using an External Primary Offer, where the same external source or Partner will promote multiple publications, it is recommended to create multiple campaigns. -
OptiPub tools will find campaigns using theirName the campaign.IDandName. -
Write an internal description to provide additional details of this campaign to your team.Write a description for the campaign. -
Assign a default partner for this campaign. If you wish, you may override this later at link generation time to group multiple partners into one campaign.Choose the campaign partner.
Step 2. Configure campaign data(optional).
Extra data can be added in the "Data" box in the "Configure Campaign" section. It can be referenced from message content and should be in the following format-
{
  "report_link": "OptiPub",
  "report_url": "https://www.optipub.com",
}
Step 3. Build the campaign.
Under the campaign options is the campaign builder. When you begin, you will see the "Primary Offer" cell. Hover over the cell and click the blue edit button (or double click the entire cell) to begin building the campaign.
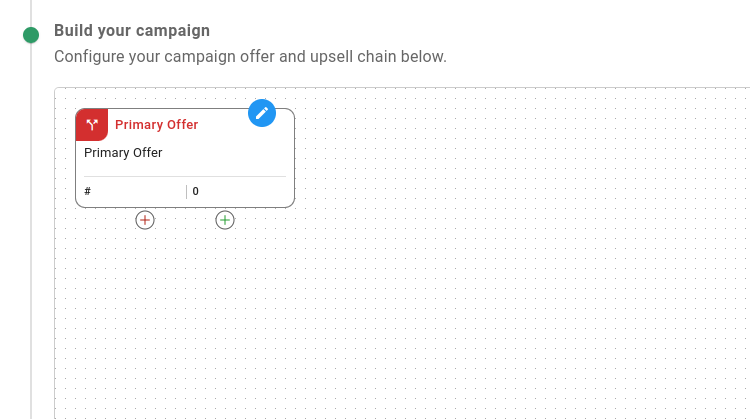
The campaign builder
Step 4. Edit the primary offer.
The type of the campaign dictates what content will be displayed first to visitors who click on your campaign links. The following types of primary offer types are available -
- Advert- Users are shown a advert (currently a lift letter), then they are shown a promo before being taken to an order page.
- Promo - Users are shown a separate promo before being taken to an order page.
- Order page - Users are taken directly to an order page.
- External - Users who click the primary offer are directed to an external website through a link.
Most campaigns will use the following landing pages created in OptiPub.
- Order page - An order page contains at least an order form or a free sign up. Learn how to create an order page here.
- Promo - A promo page contains content that is intended to prepare the user to make a purchase on the order page. Learn how to create a promo here.
"Primary Offer" options
In addition to your primary offer, you can configure a secondary offer that will be displayed when a visitor navigates away from the primary offer.
After you have entered your information, click the green "OK" button and the offer will be created.
Step 5. Add a Follow Up Funnel(optional).
Under the primary offer, there is a red "+" button that can be used to create a "Follow Up Funnel". When you click the button, a window will popup with the following functions.
- Name: Enter the name of the follow-up funnel.
- Choose "Follow-Up Funnel": Select the appropriate follow-up funnel option.
Adding a Follow Up Funnel.
You can use follow up funnels to trigger for visitors who visit your primary offer but do not convert for abandonment/reengagement emails.
Step 6. Build the upsell chain(optional).
Under the primary offer, there is a green "+" sign that can be used to manage the upsell chain. Click the Green "+" button to open a popup with the following functions -
- Name: Enter the name for the upsell. This is required.
- Order page: Select the order form to be associated with the upsell.
Adding an upsell.
You can chain upsells together to boost campaign revenue.
Step 7. Save the campaign.
Click the green "SAVE" button to finalize the changes and save the campaign. Alternatively, click the grey "SAVE & CLOSE" button to return to the main Campaign screen.
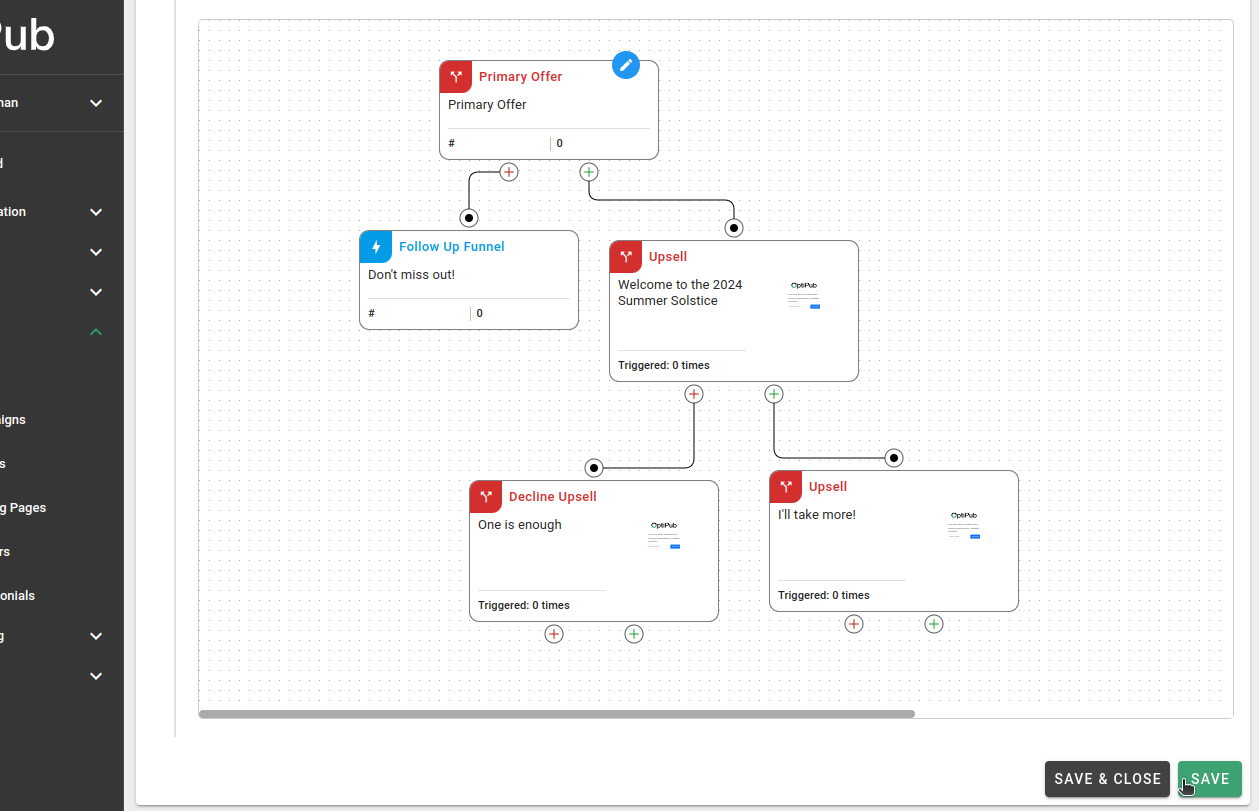
Saving the Campaign.
Step 8. Generate a link(optional).
Now that the campaign is created, you can use the 'Generate Link' button from the campaign to create a campaign link. This is a unique link that can be used to track all of your campaign visitors and signups. Learn more about campaign links here.
Updated 3 months ago