Create a Dynamic Segment
Learn how to create a dynamic segment in OptiPub.
Dynamic Segments provide the ability to have a segment that automatically updates the email list from a set of query parameters.
AlertDynamic segments consume system resources as long as they exist. It is recommended that you delete dynamic segments that are not in use.
Step 1. Create a new segment.
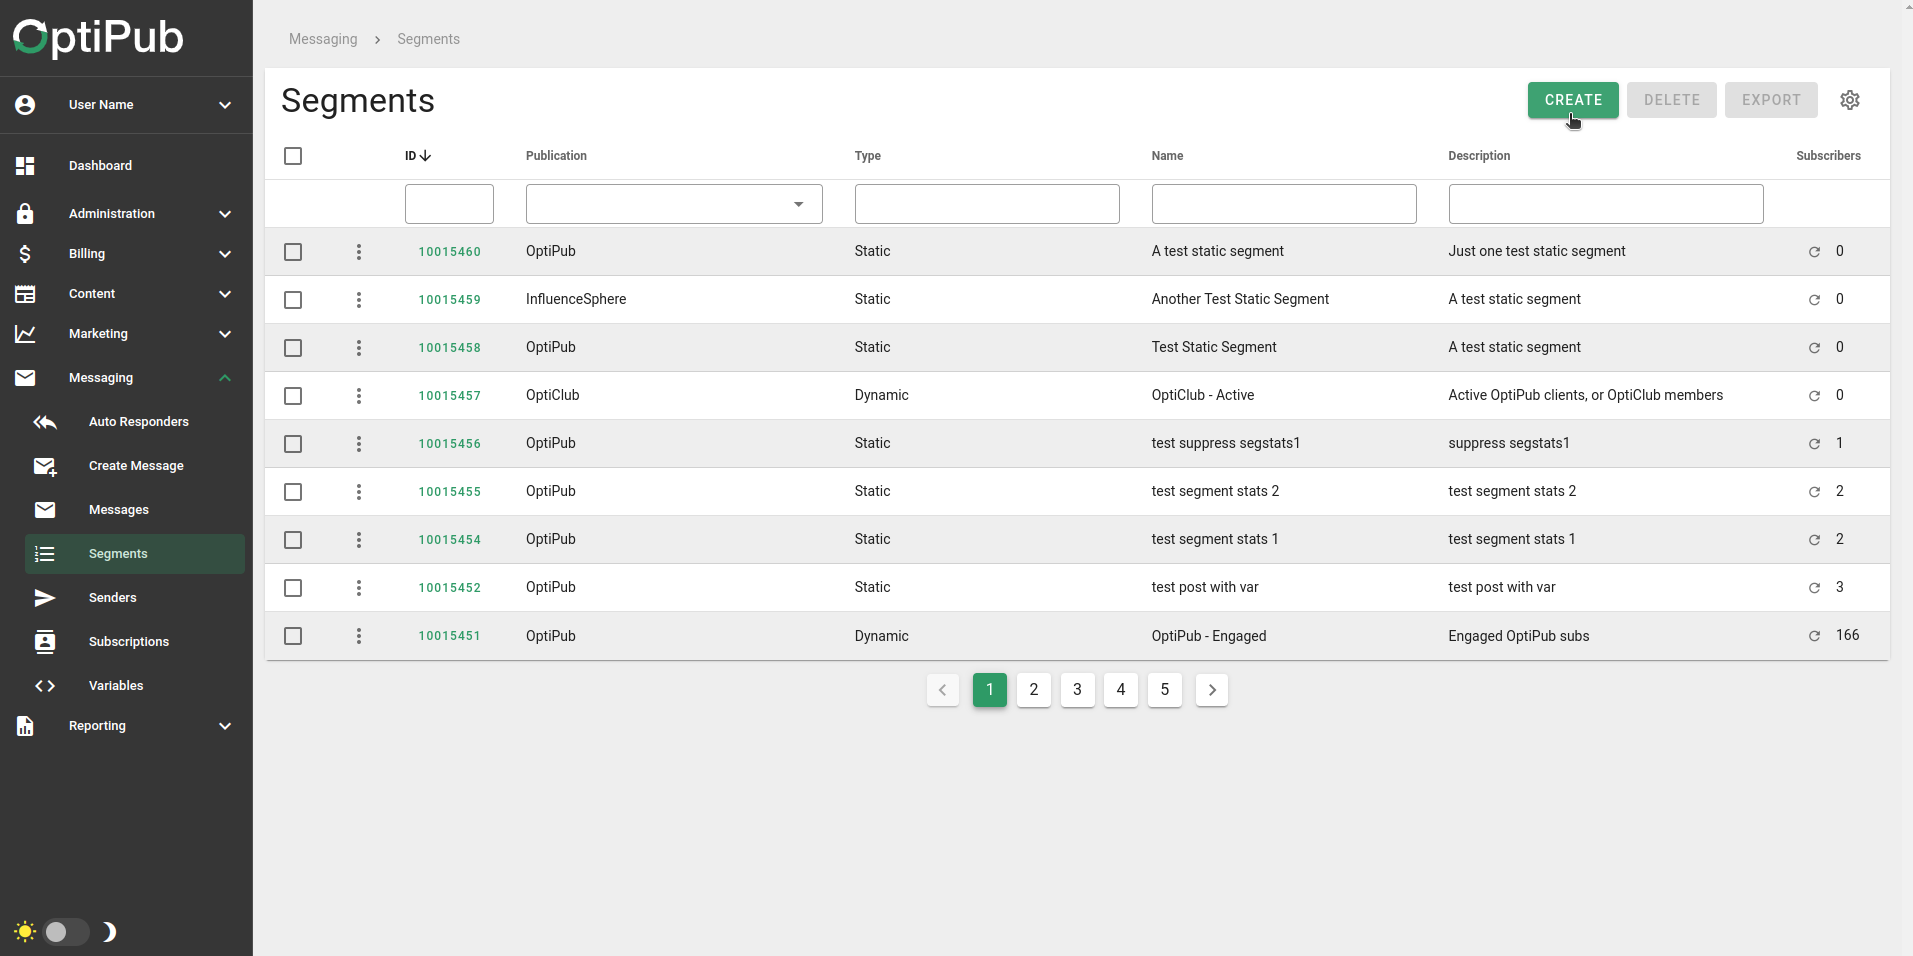
Click the "Segments" link under the Messaging tab to navigate to the segments index. Click the green "CREATE" button on the right side to open the create segments window.

Click the 'CREATE' button to open the create segment window.
Step 2. Choose the 'DYNAMIC' segment type.
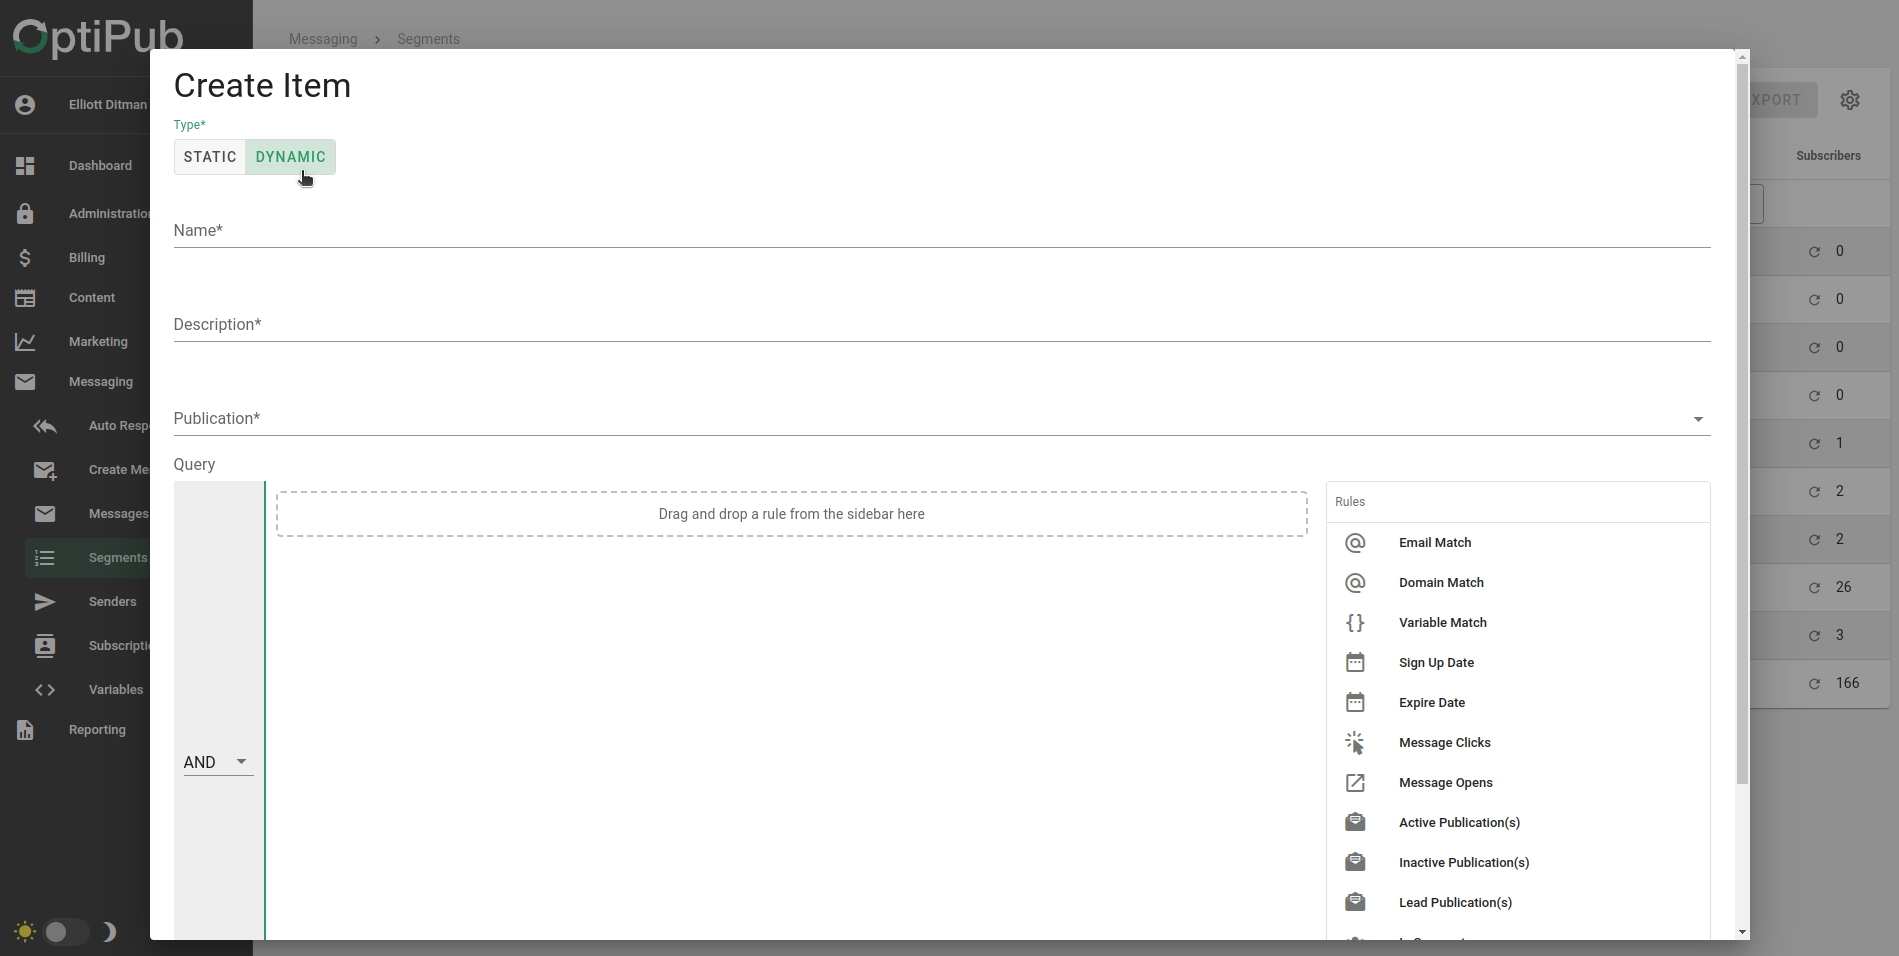
After you open the 'Create Item' (segment) window, the first option will be to choose the segment type. Choose "DYNAMIC". This will change the options that are available for the rest of the create segment process.

Choose the DYNAMIC segment type.
NoteThe "DYNAMIC" segment is selected by default in the create segment window.
Step 3. Name the segment.
Pick a name for the segment. This is required.
Step 4. Add a description.
Create a description for the segment. This is required.
Step 5. Select a publication.
Select a publication for your segment to be associated with. This list will be prepopulated with all the publications on your OptiPub installation. This is required.
Step 6. Choose type for the main query condition group.
The grey box on the left lets you choose the main query condition that decides how the query conditions you select will be used. These are the following options.
| Conditions type | Description |
|---|---|
| AND | Email has all of the query conditions. |
| OR | Email has one of the query conditions. |
| OR NOT | Email does not have one of the query conditions. |
| AND NOT | Email does not have any of the query conditions. |
Step 7. Build the main query conditions.
Dynamic segments are built with query conditions. You can choose from a large amount of query conditions and then customize them to your liking.
Step 8. Choose a type for the sub query condition group(optional).
If you want to create more complex dynamic segments, you can create one or many sub query conditions. These appear nested underneath the main query condition group.
Step 9. Build the sub query conditions(optional).
After you have set up the optional sub query condition group, you can choose query conditions.
Step 10. Save the segment.
Click the 'green' save button to create the segment.
NoteOnce you create a segment, you cannot change the segment type.
Updated 2 months ago
