Gmail Postmaster Tools Setup
We introduced Google Oauth2 to gather user's Google's Postmaster stats.
First, login to Google Cloud APIs & Services and follow these steps:
https://console.cloud.google.com/apis/dashboard
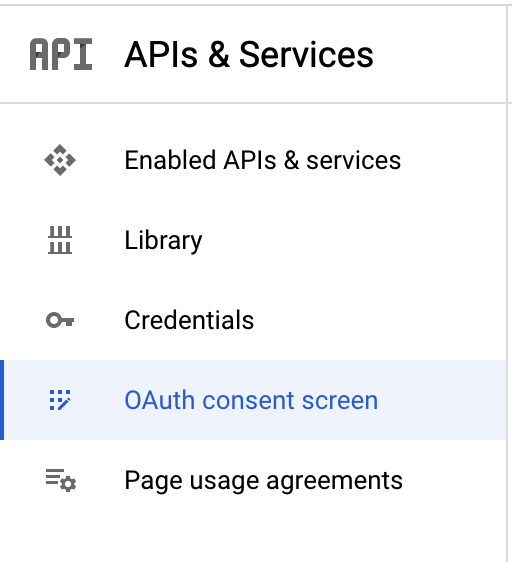
- Select Auth Consent Screen on left menu
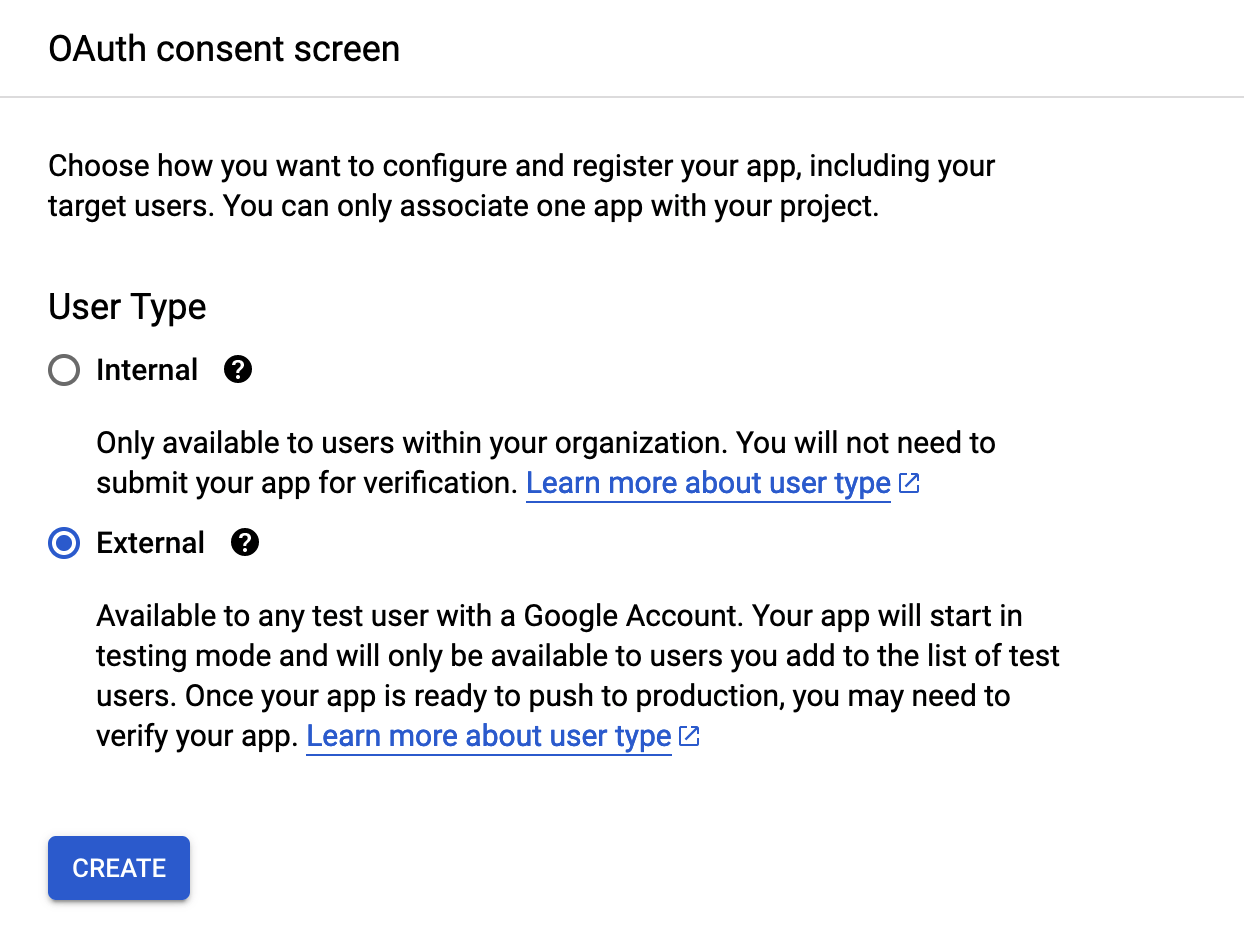
- Select External
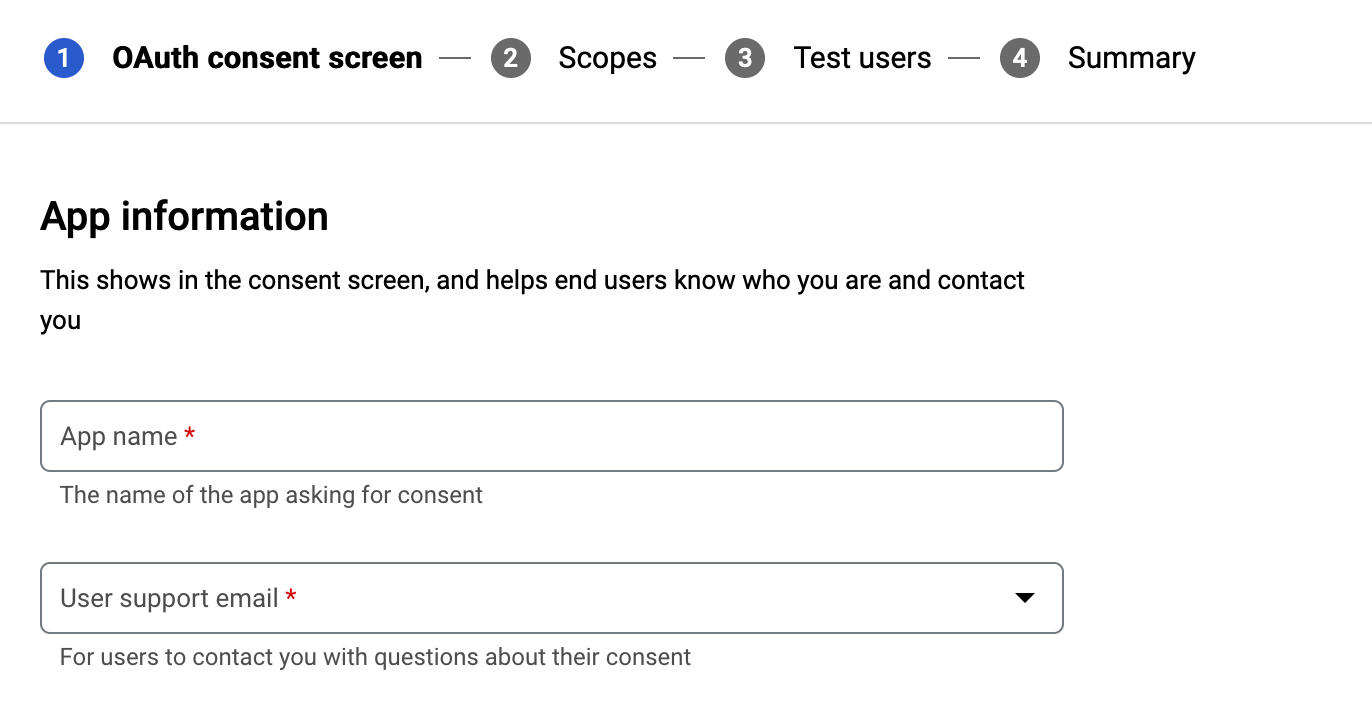
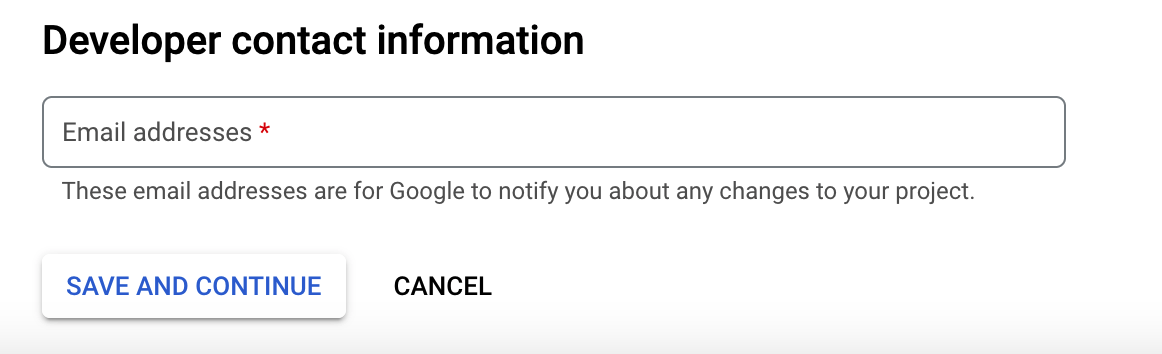
- Choose an App Name, fill the User Support Email and Developer contact, then press Save and Continue
- Click Add or Remove Scopes
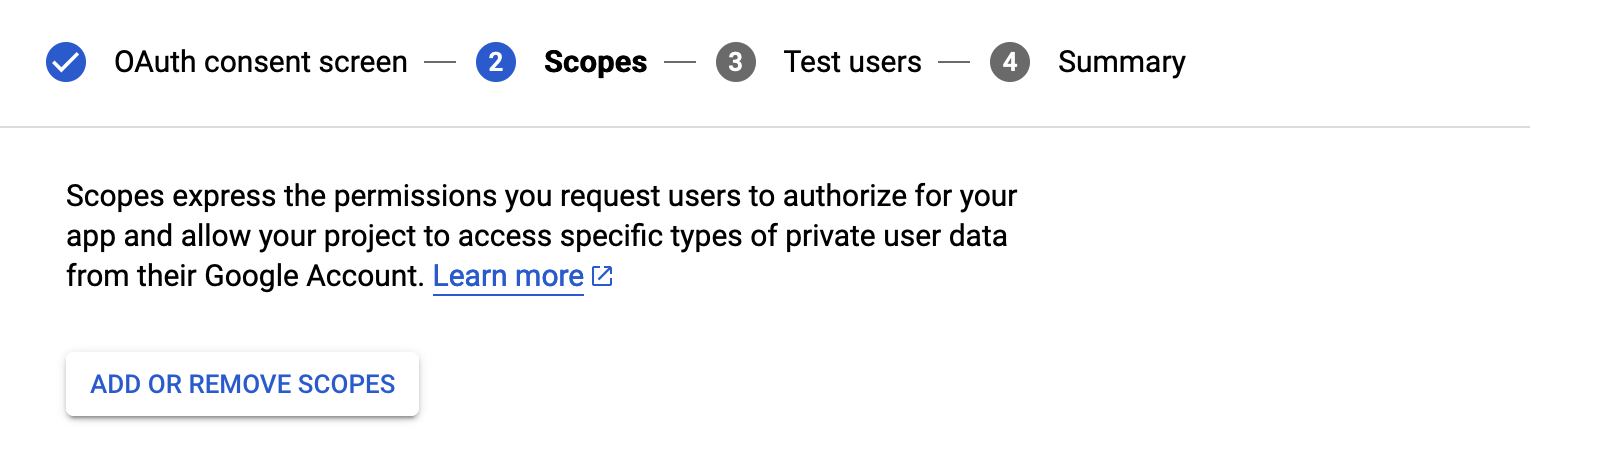
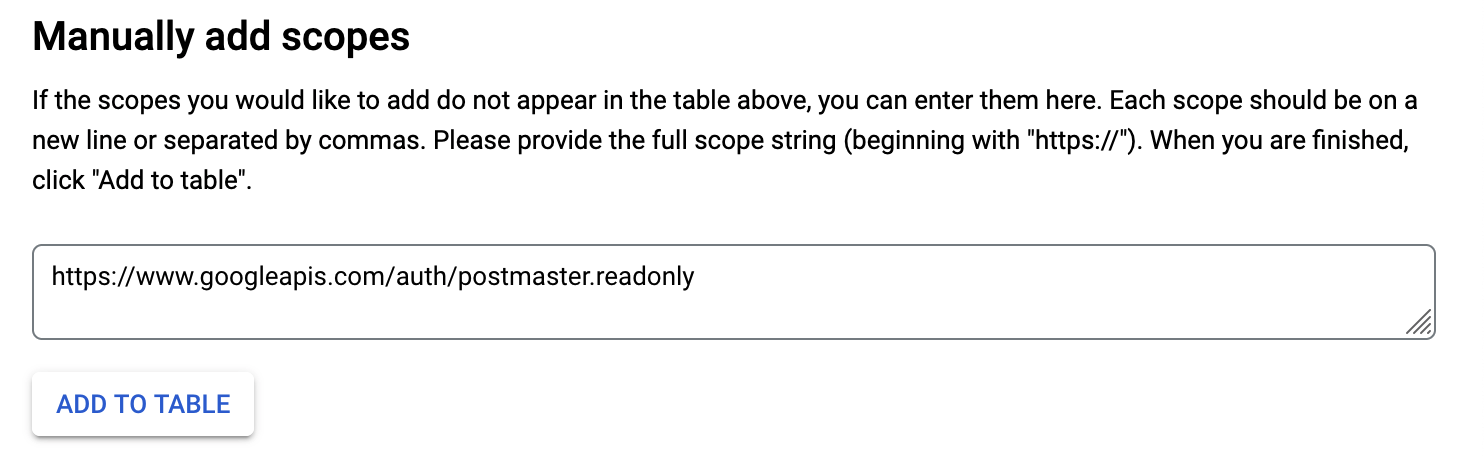
- Manually add this scope, press Update, then Save and Continue.
https://www.googleapis.com/auth/postmaster.readonly
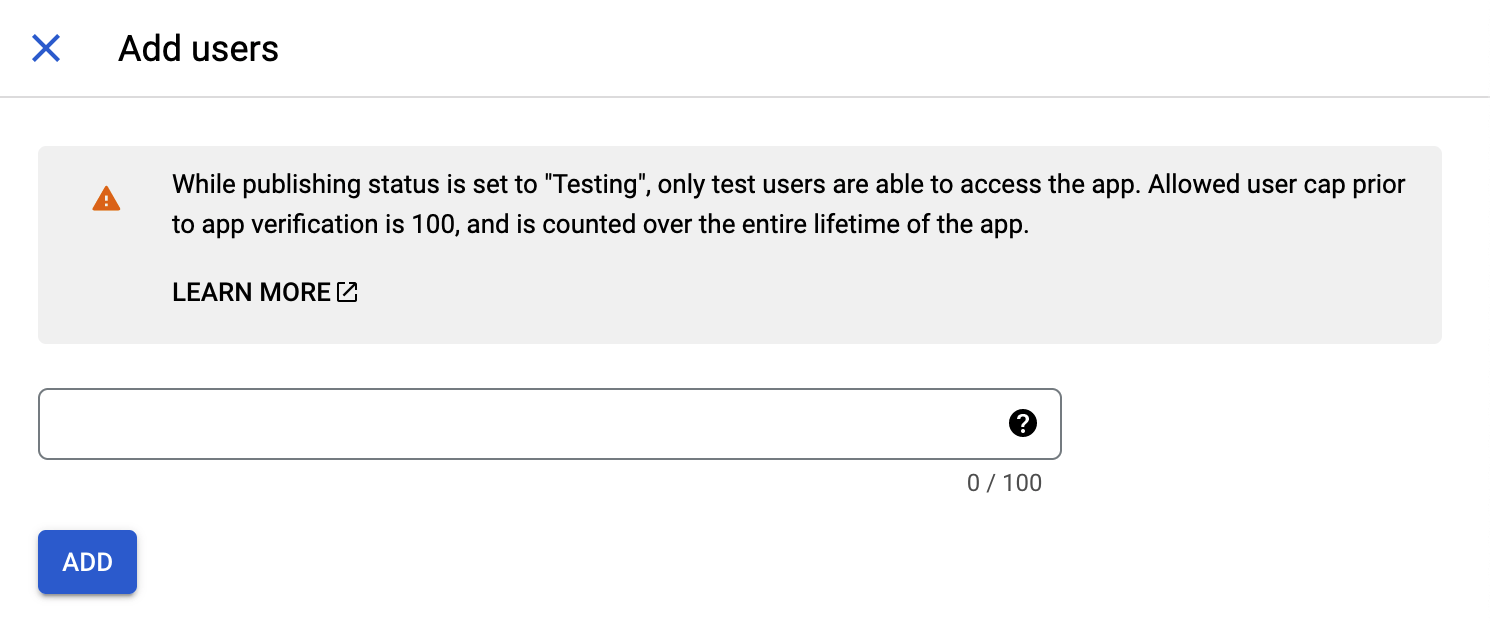
- Click Add Users, add your email address and press Add, then Save and Continue.
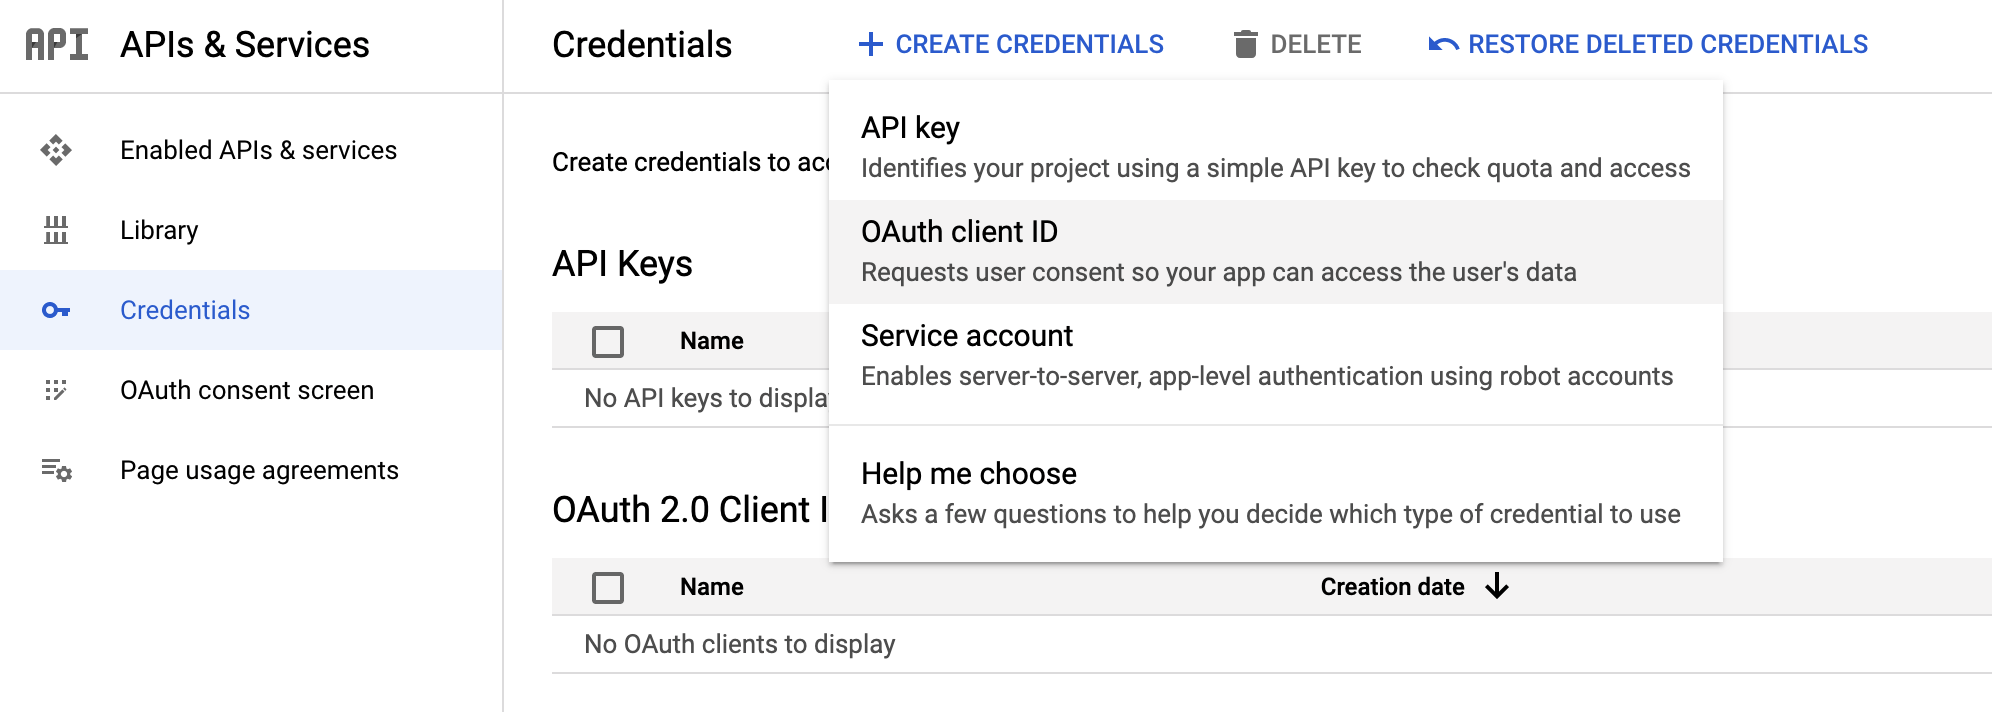
Next, we need to setup credentials:
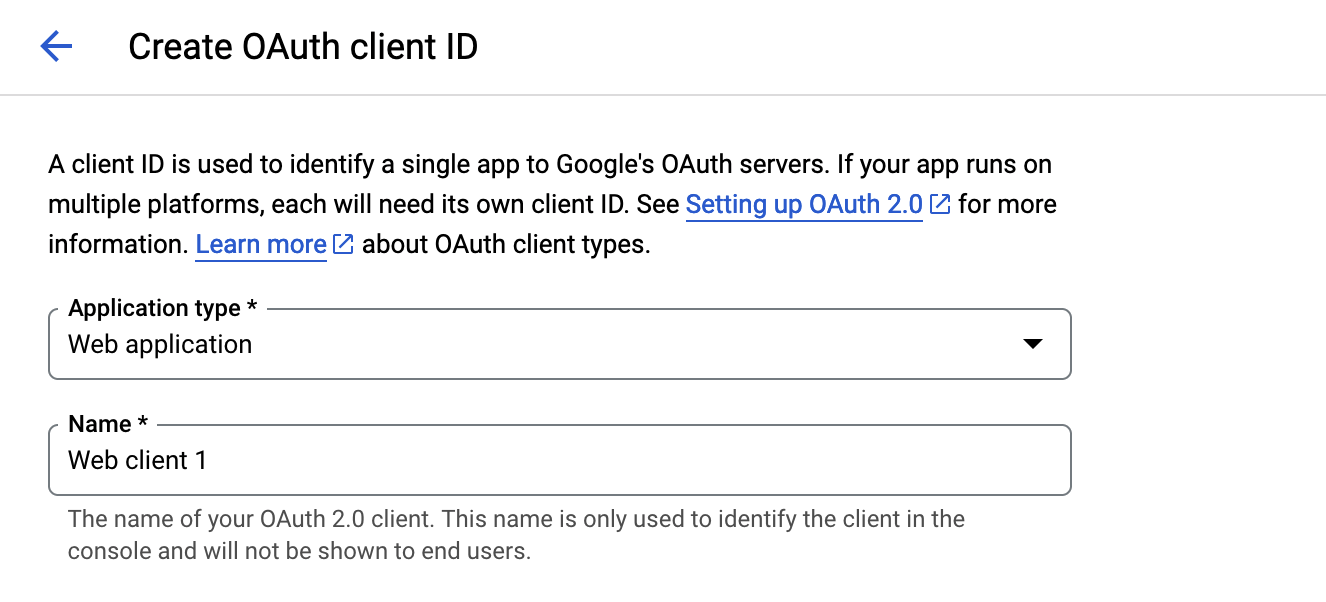
- Select Credentials on the left menu, then 'Create Credentials' and choose 'OAuth client ID'
- Choose 'Web application' as your Application Type
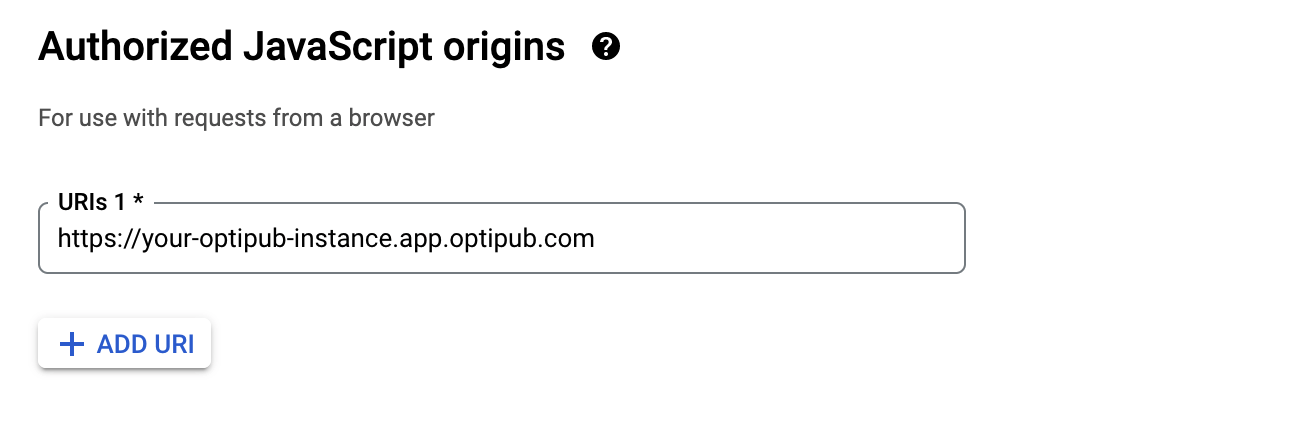
- Populate the Authorized JavaScript origins
https://your-optipub-instance.app.optipub.com
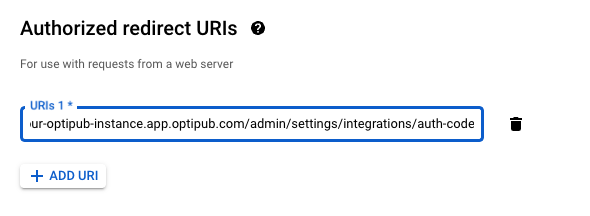
- Populate the Authorized redirect URI
https://your-optipub-instance.app.optipub.com/admin/settings/integrations/auth-code
- After pressing create you will be displayed an 'OAuth client created' with your Client ID and Secret.
- Press 'Download JSON' and save the file for later.
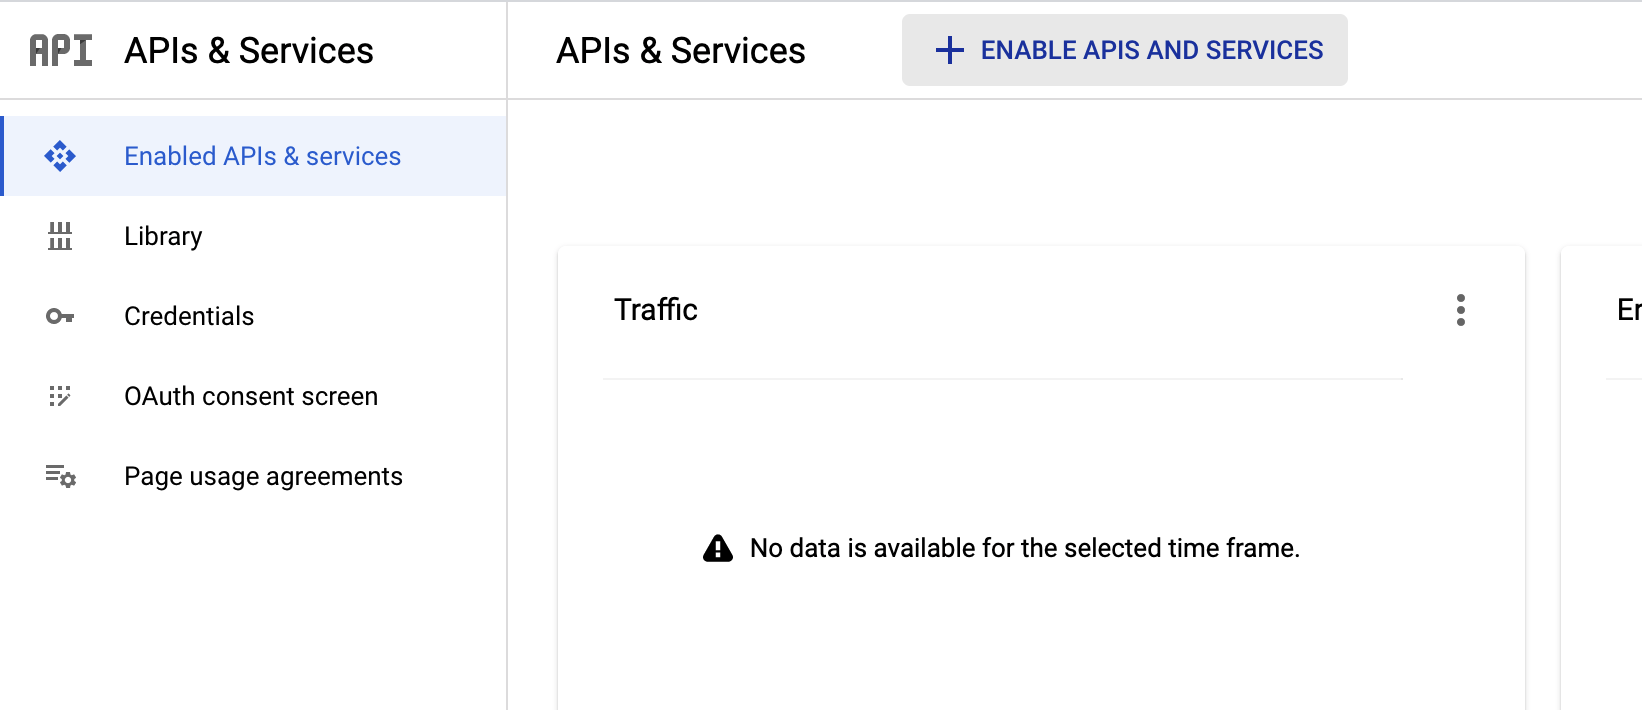
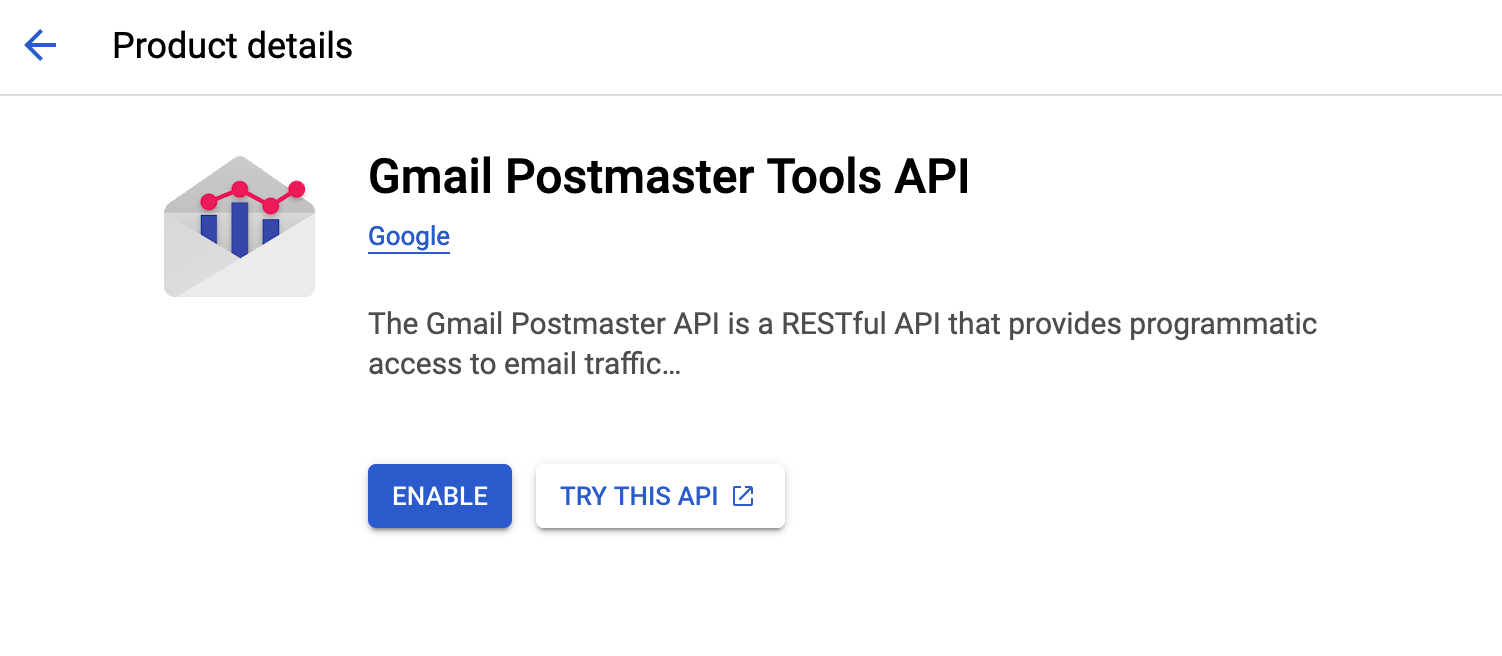
The last thing to do in do in Google is to enable the new service you created:
- Select 'Enabled APIs & services' from the left menu and then '+ ENABLE API AND SERVICES'
- Next search the API Library for 'Postmaster' and select the only result
- Finally, press Enable
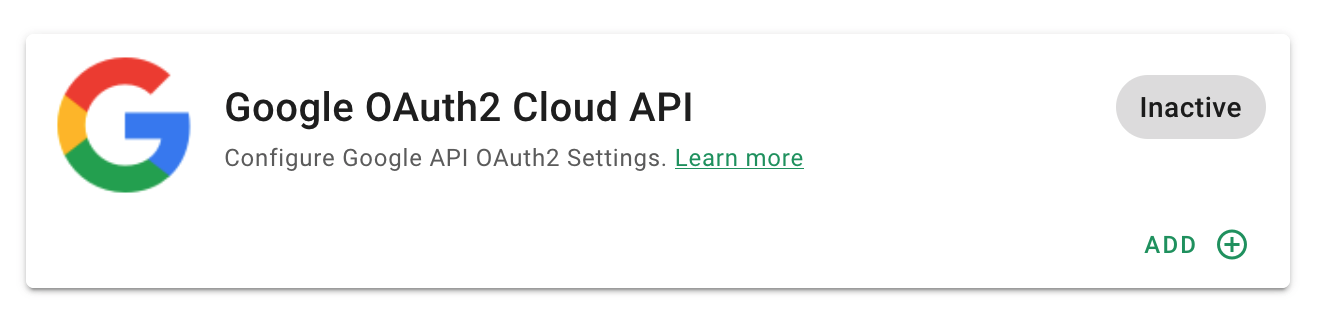
Finally, you will need to import the JSON configuration file you downloaded earlier into OptiPub:
- Navigate to Admin -> System Settings -> Integrations and press Add on Google OAuth2 Cloud API
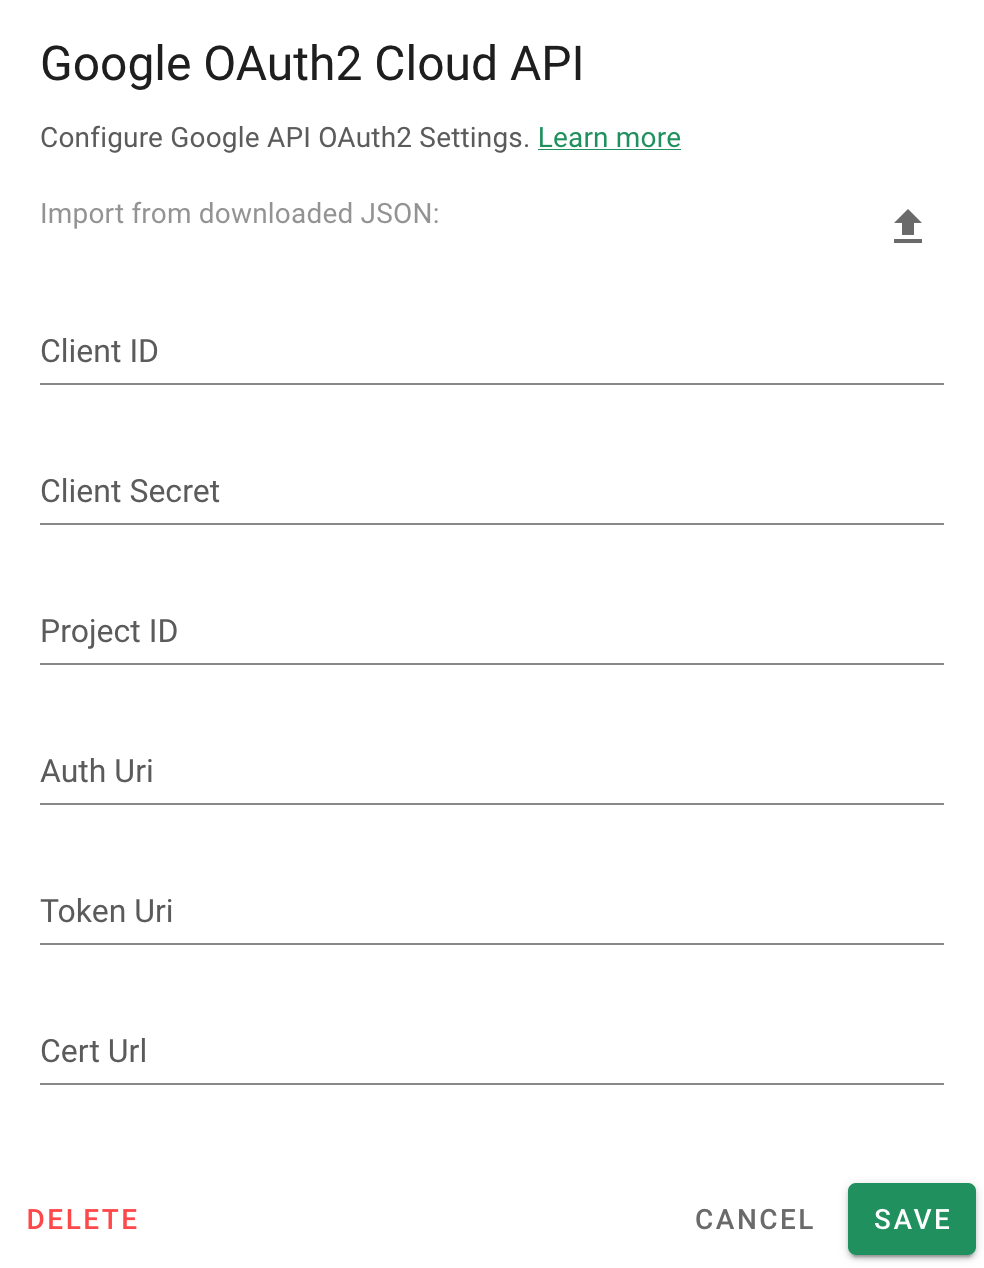
- Press the import button the top right to import your config file and then press Save.
- Finally, press 'Connect' on the Gmail Postmaster Tools integration
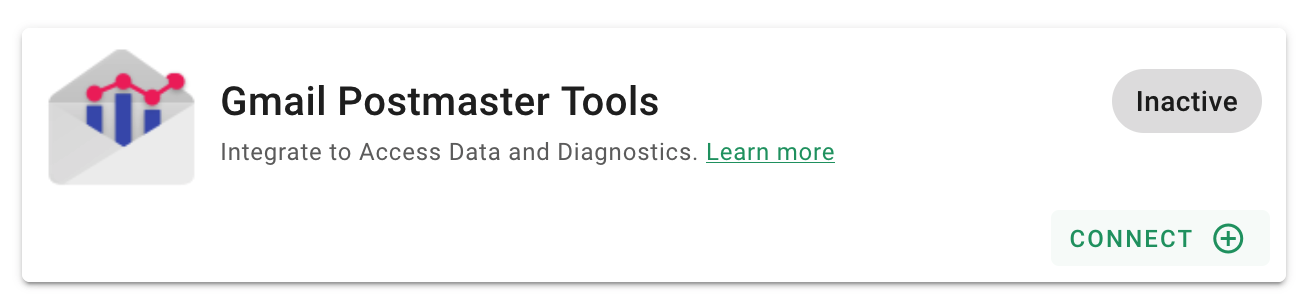
You should seeing Gmail Postmaster Tools data collecting in your OptiPub account soon!
Updated 3 months ago