Create an Auto Responder
A step-by-step guide to creating an auto responder.
PrerequisitesIn order to create an Auto Responder, you have to have a minimum of one publication with a valid sender and one auto responder category already created in your application.
Step 1. Create a new Auto Responder.
Click on 'Auto Responders' link under the Messaging tab on the main menu to go to the Auto Responders page. Click the green 'CREATE' button on the right side to begin creating a new Auto Responder.
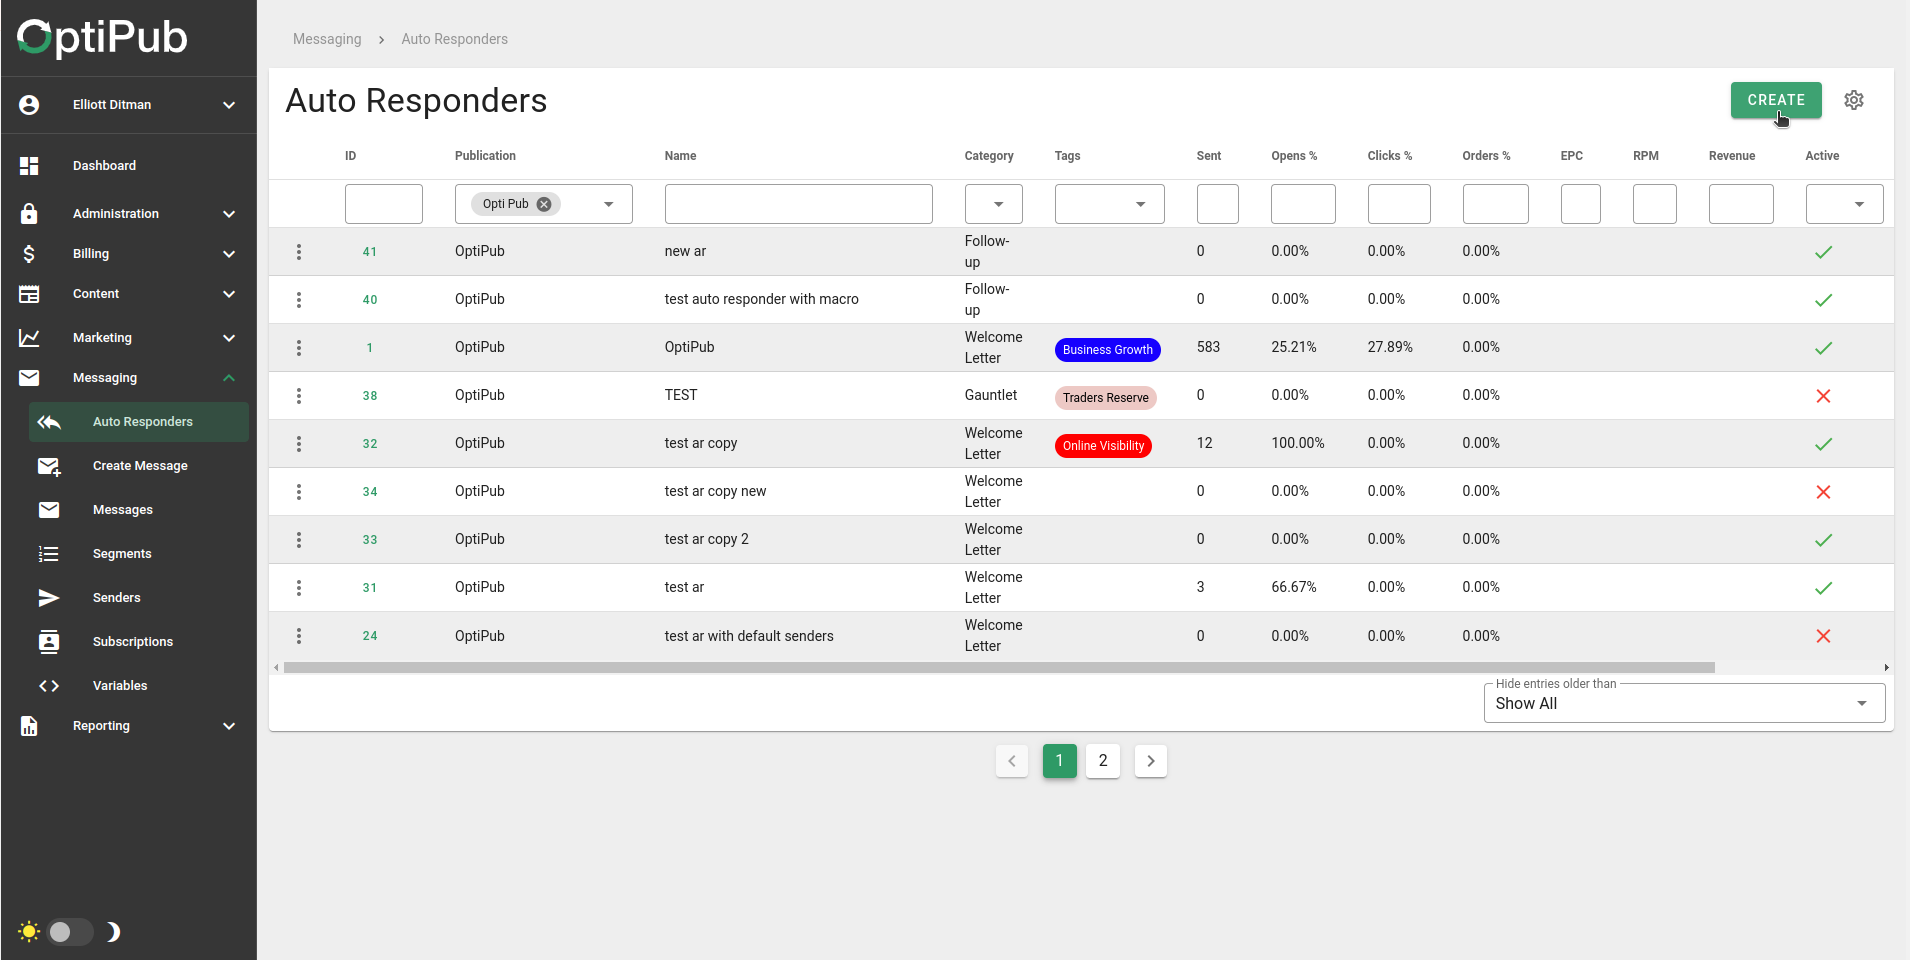
The Auto Responder page.
Step 2. Name the Auto Responder.
Write a desired name for the Auto Responder. This name is used for internal reference and not sent as part of the e-mail.
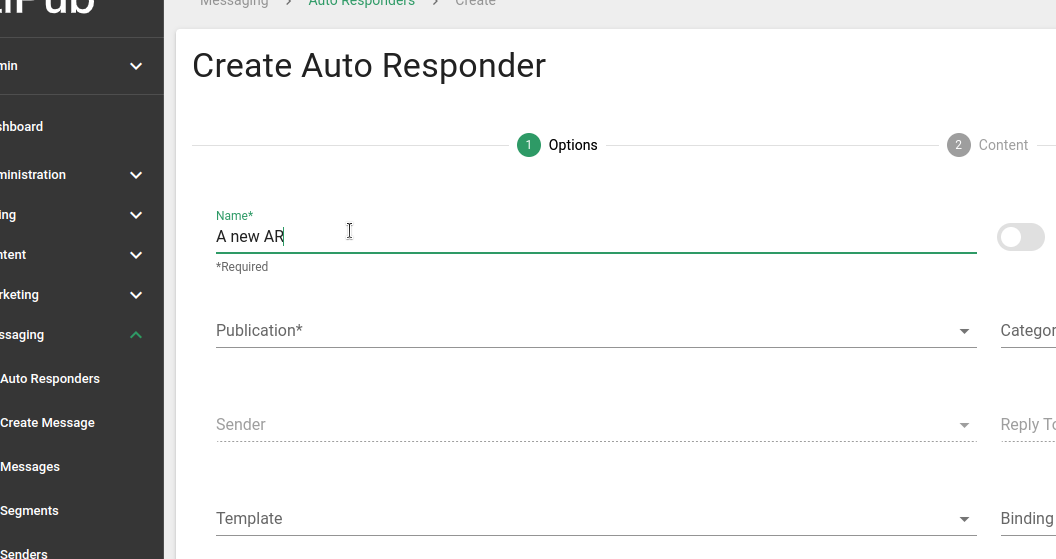
Naming the new Auto Responder.
Step 3. Pick the Publication.
Choose the desired Publication for the Auto Responder from the drop-down menu. There can only be one Publication for the new Auto Responder. This is required.
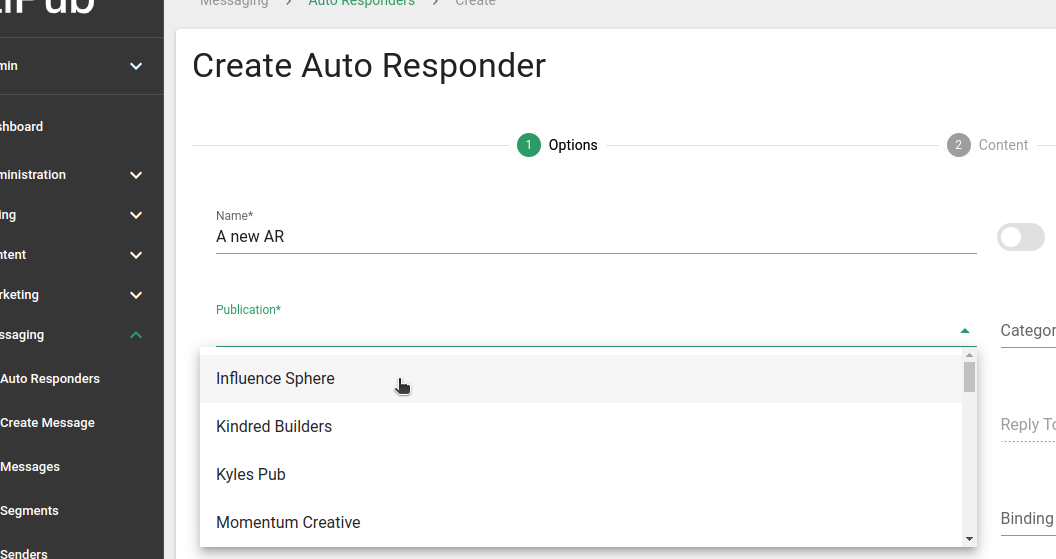
Picking the Publication of the new Auto Responder.
Step 4. Pick the Category.
Choose the desired Category for the Auto Responder from the drop-down menu. There can only be one Category for the new Auto Responder. This is required.
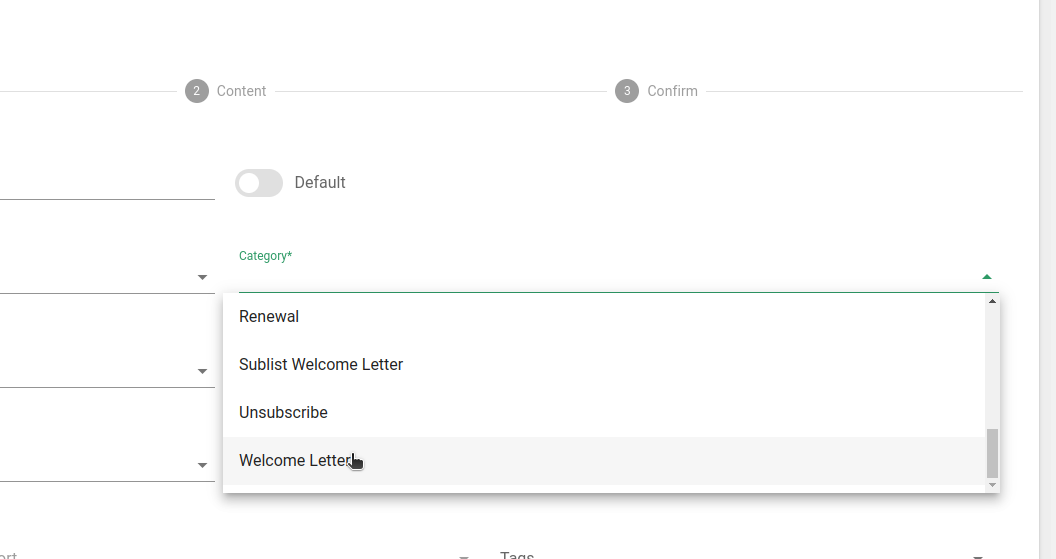
Picking the Category of the new Auto Responder.
Categories are different for every installation of OptiPub. They are defined in the 'Categories' section of the 'System Settings' page. Learn more about System Settings.
Step 5. Choose if the Auto Responder is the default for the Publication and Category.
Press the 'Default' toggle to choose whether the new Auto Responder will be the default Auto Responder for the Publication and Auto Responder category combination.
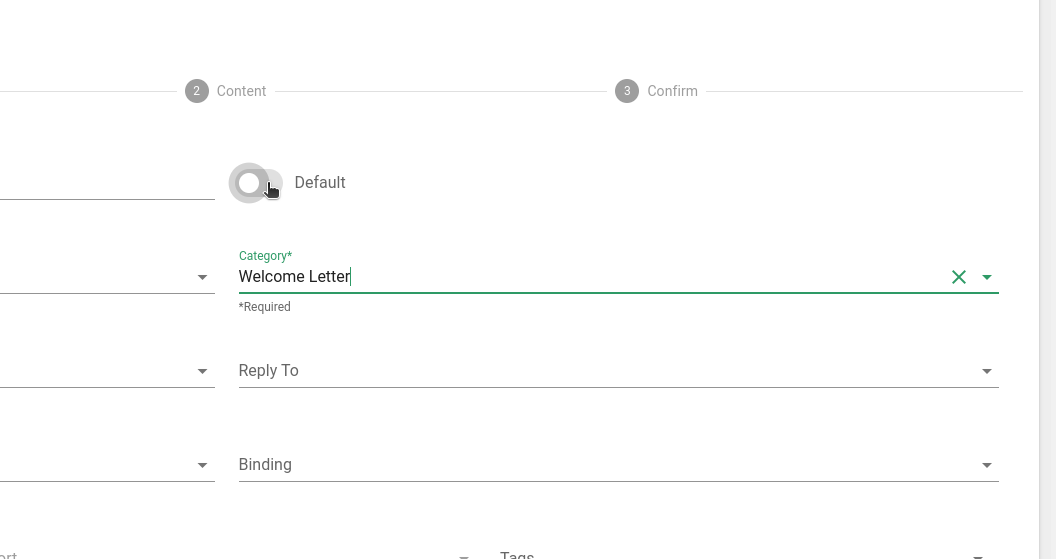
Choose if the new Auto Responder will be the default .
Step 6. Configure the rest of Auto Responder.
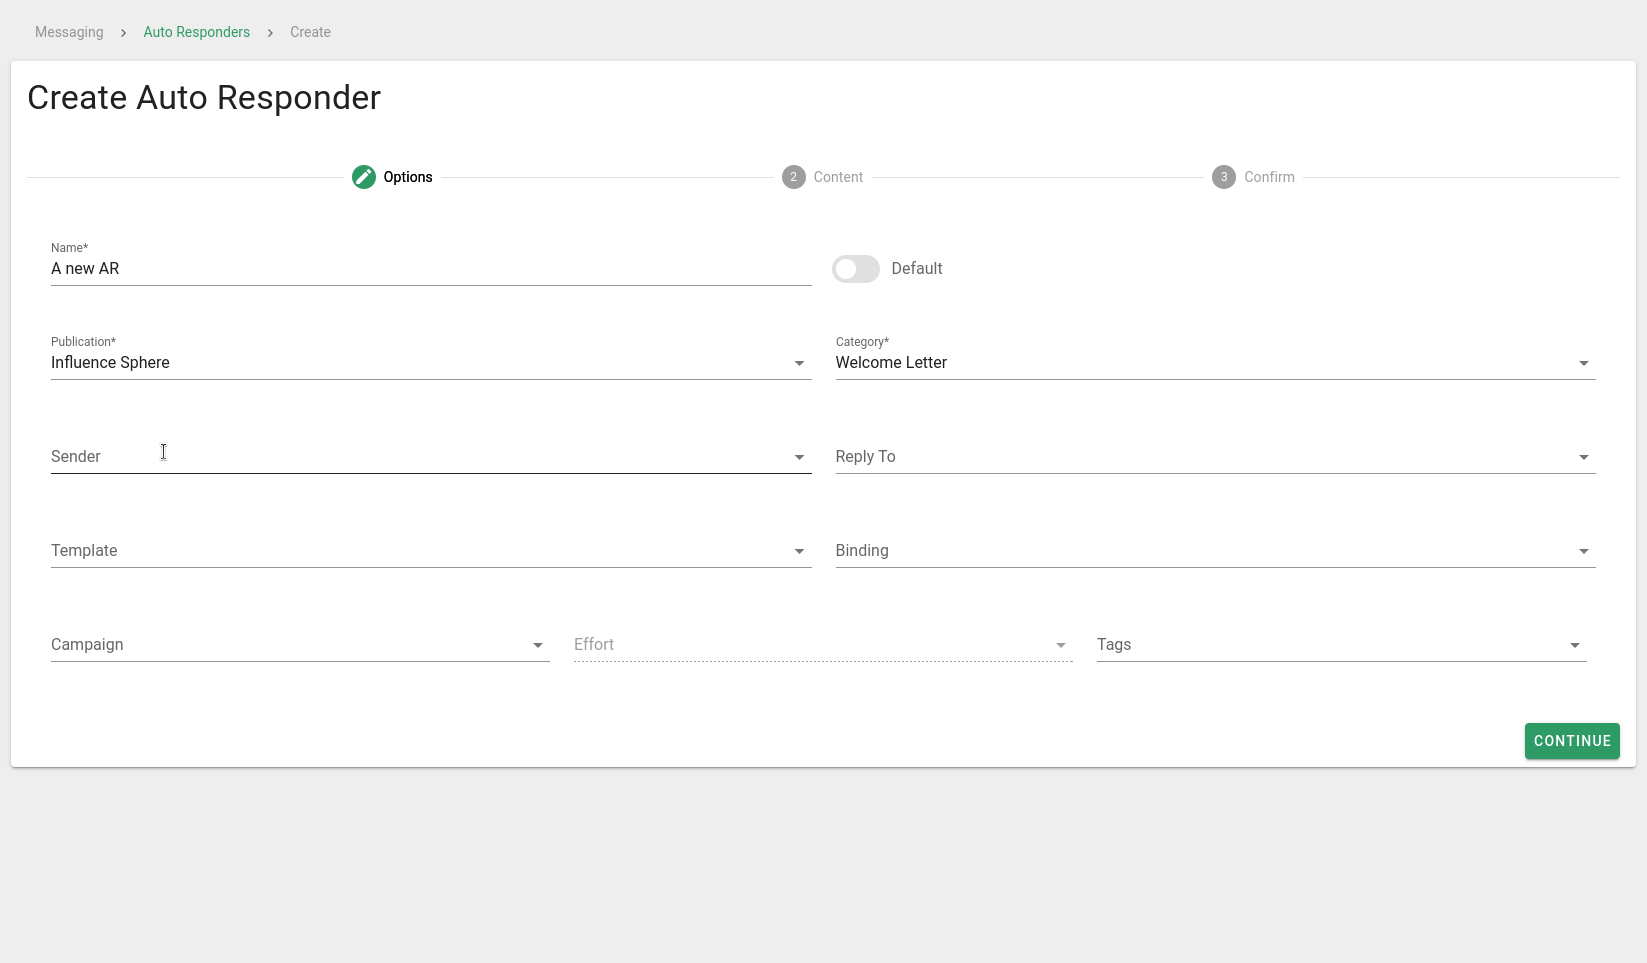
Configure the rest of the options for the Auto Responder.
A. Pick the sender.
If not using the default sender for the chosen publication, choose the desired Sender from the drop-down menu. The senders available will be based on the the Publication selected earlier.
B. Pick the Category
Choose the desired Auto Responder category from the drop-down menu.
C. Pick the template.
If needed, choose a Template from the drop-down menu. Using a Template when creating an Auto Responder is not required, but it will allow you to input just the content. This content will be automatically inserted into the Template at the predefined location.
TemplatesIf you chose to use a Template, this content will be injected into the template. Step 7 (Create the Content) will show you a preview of what the Auto Responder looks like inside of the Template.
D. Pick the binding.
Publication bindings determine which sending IP address a message uses by default. Examples of binding types are "free" and "paid" bindings. Learn more about Bindings.
E. Choose the campaigns.
Campaigns are defined by the Publication. If desired, choose an associated Campaign from the dropdown.
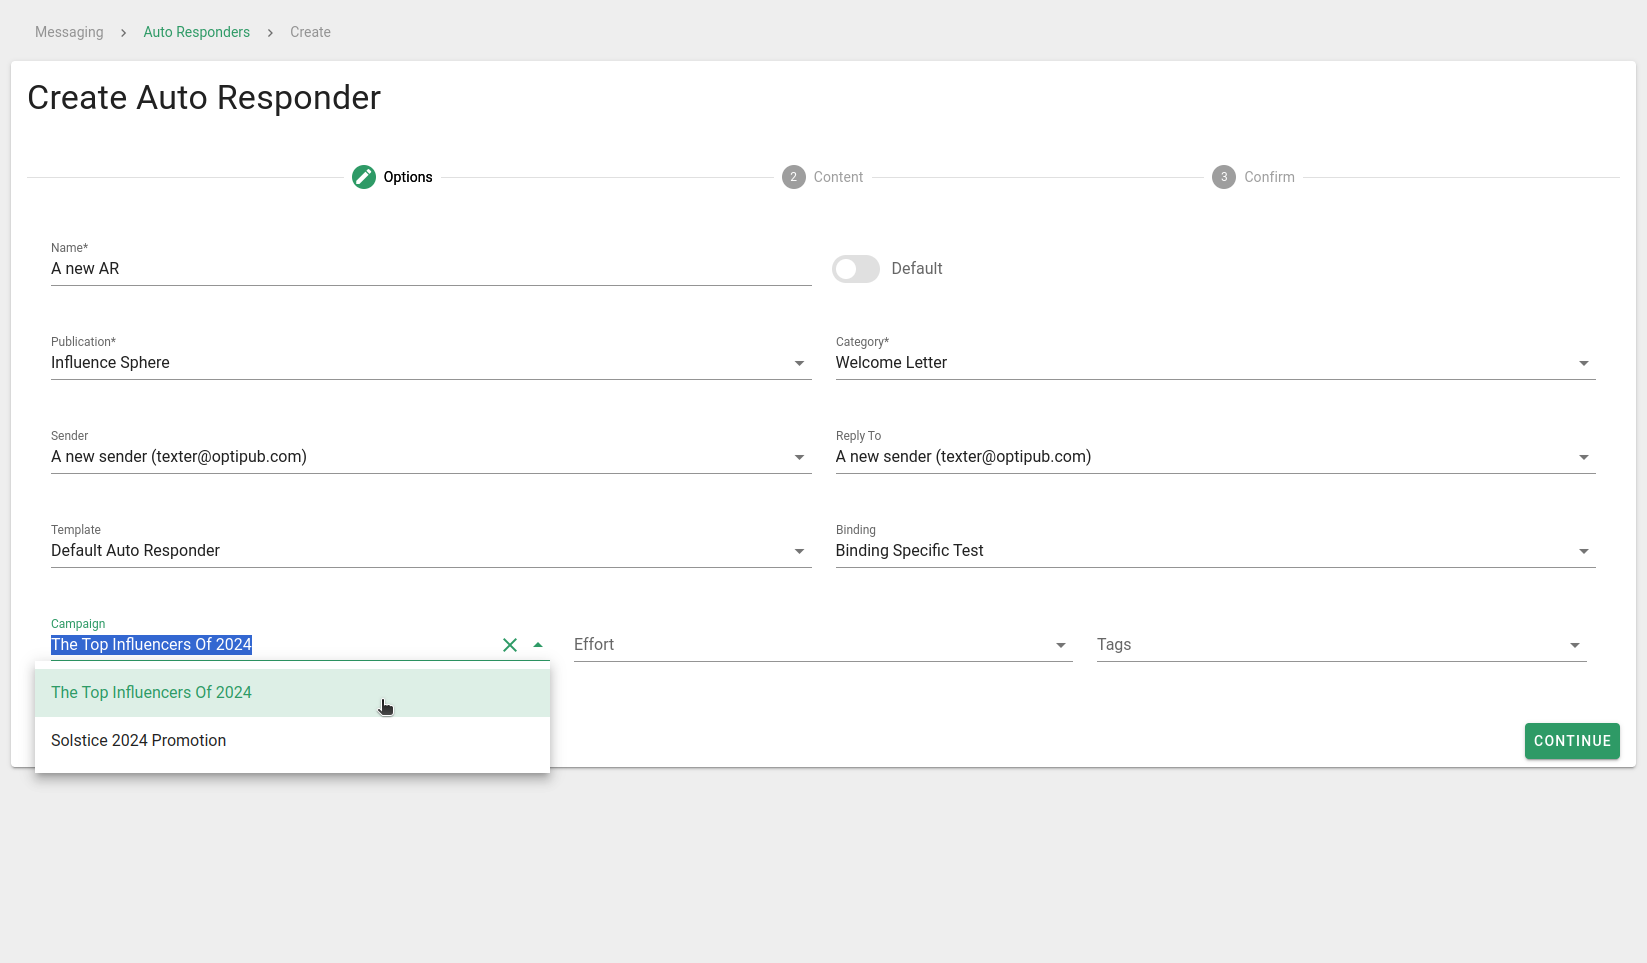
Choosing a Campaign for the the new Auto Responder.
F. Choose the effort.
After a Campaign is selected, an associated effort can be chosen from the dropdown.
G. Pick the tags(optional).
Tags can be used to categorize the content on OptiPub. They are optional.
Step 7. Create the content.
A. Write the Subject.
The subject is the text that shows up in the title of the email. It is required.
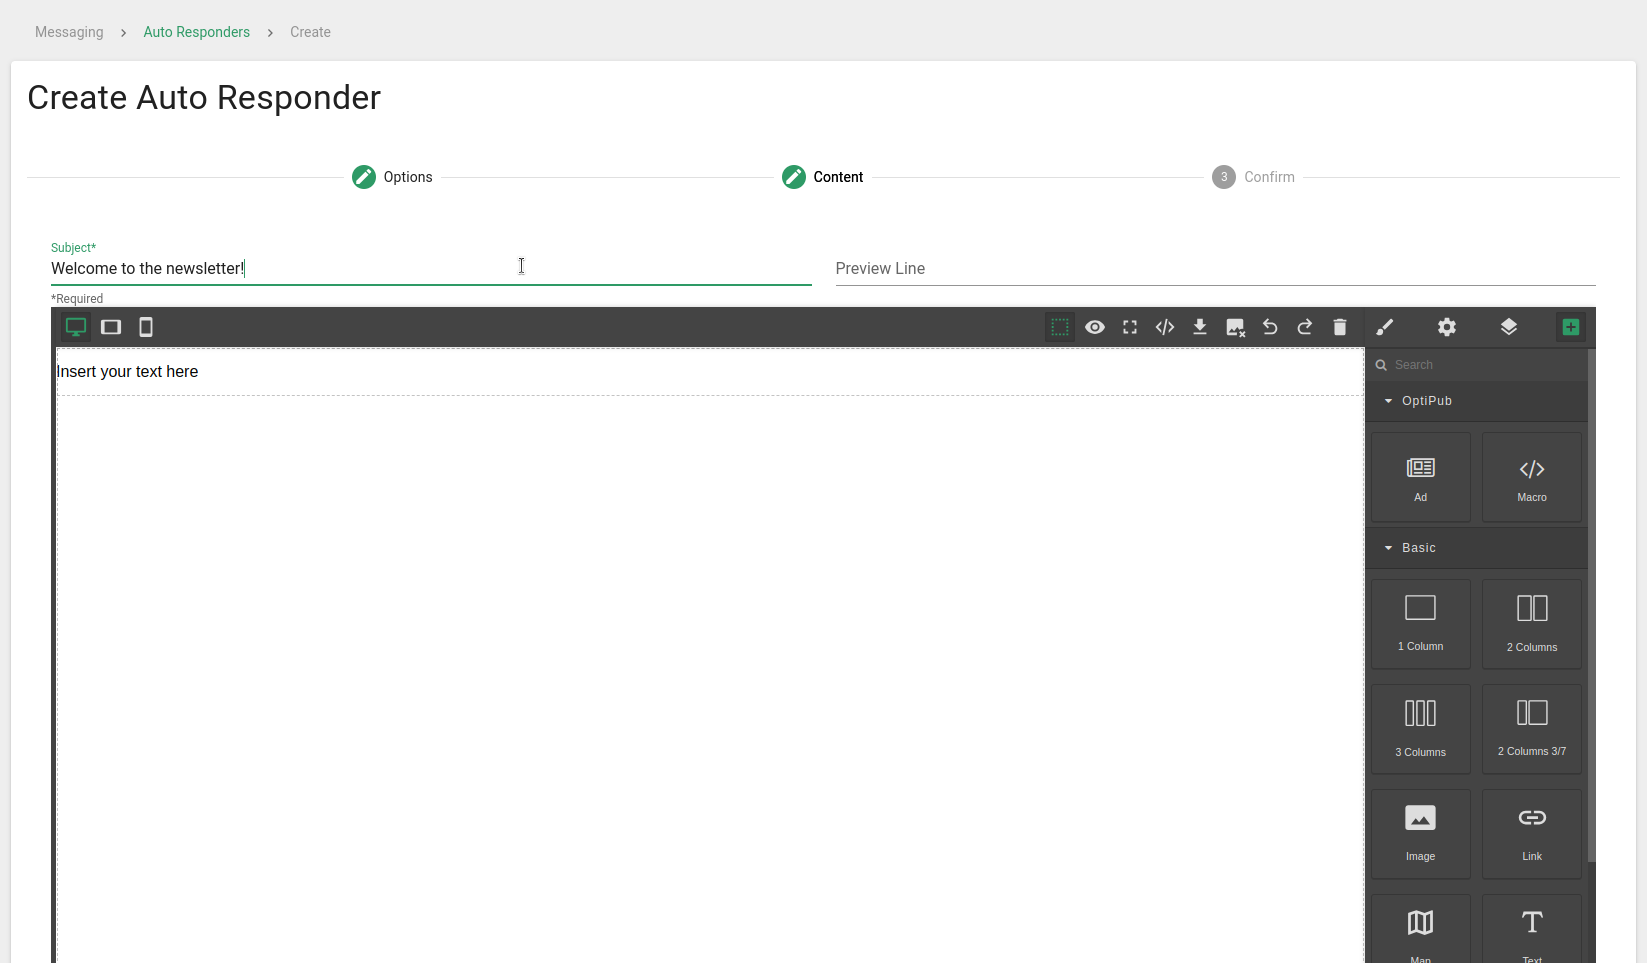
Write the Auto Responder subject.
B. Write the Preview Line.
The preview line for the auto responders is a short line of text that appears next to the title on some browsers.
Preview LineThe Preview Line is a short blurb that will appear next to the Subject line in the recipient's inbox. Not all email providers support Preview Lines. Even when preview text is supported, no two inboxes look the same—both placement and character count vary.
C. Create the Content.
Create the content of the Auto Responder in the Drag and Drop content editor.
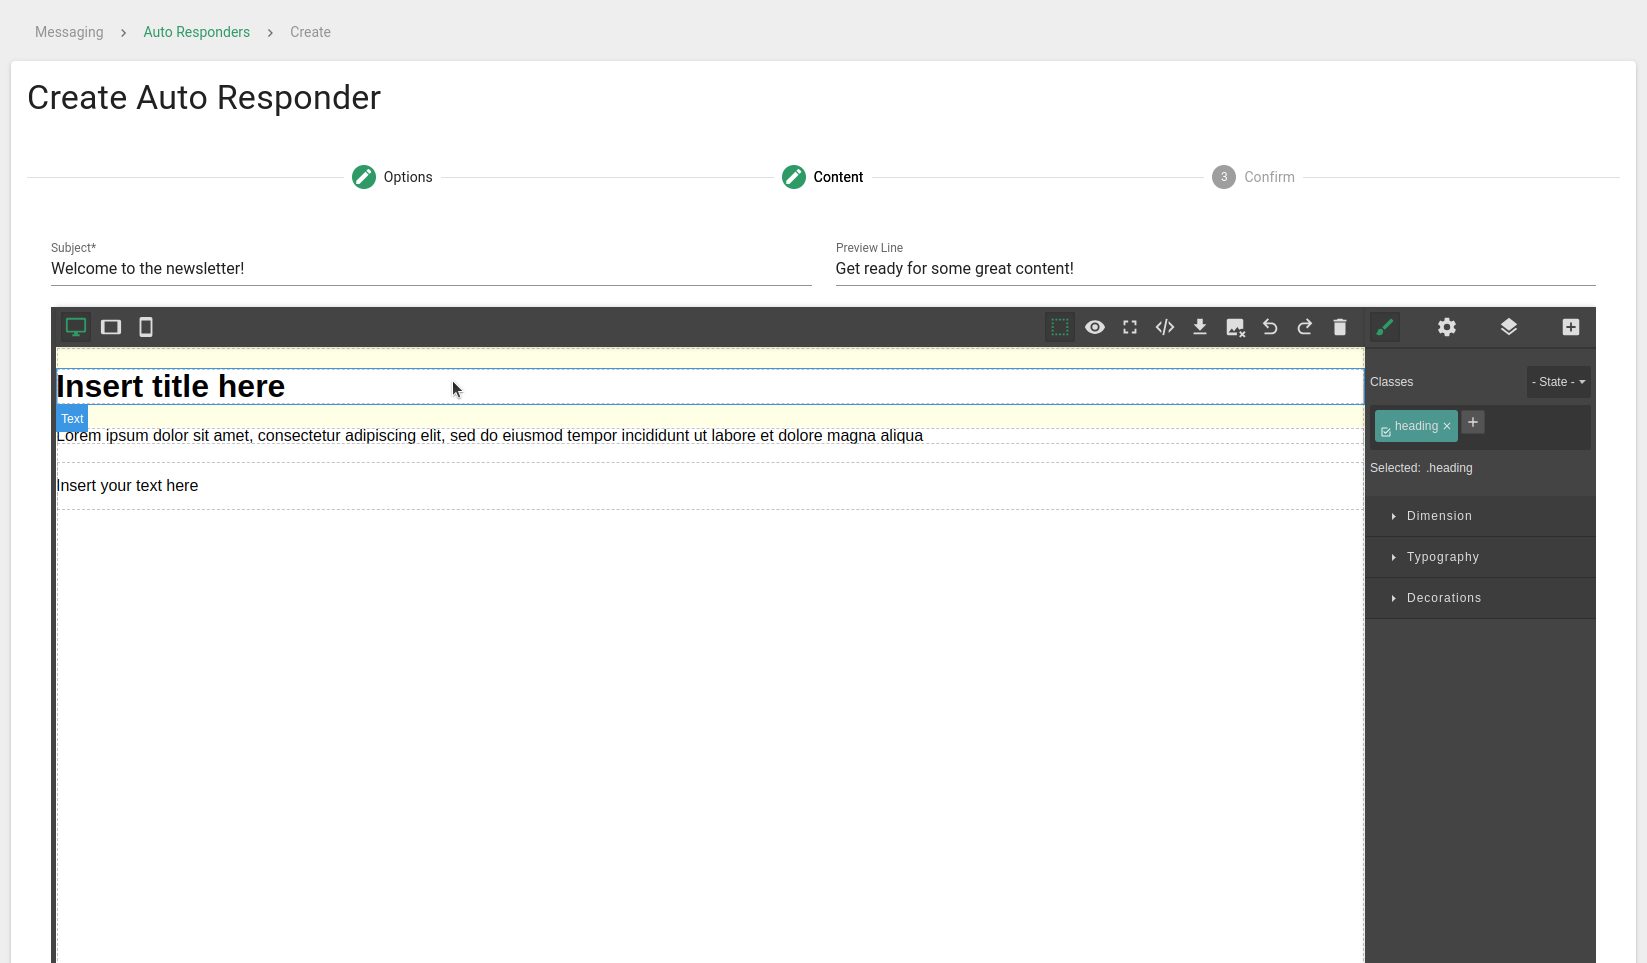
Creating the Auto Responder content.
Learn more about Working with the content editor
Step 8. Send a Test Email(optional).
At any time when writing content, you can send a test email by clicking the Send Test Email button on the lower-right. This will bring up a form to allow you to choose what email address to send the test to and fill out any custom variables that you may have added to the auto responder.
Step 9. Confirm and Save the Auto Responder.
-
Review the auto responder that you just created.
-
Click the Save button to finish creating your auto responder.
Updated about 3 hours ago