Create an Order Page
How to create an Order Page in OptiPub.
Step 1. Create a new landing page.
Navigate to the "Landing Pages" link under the Marketing tab and click the green "CREATE" button.
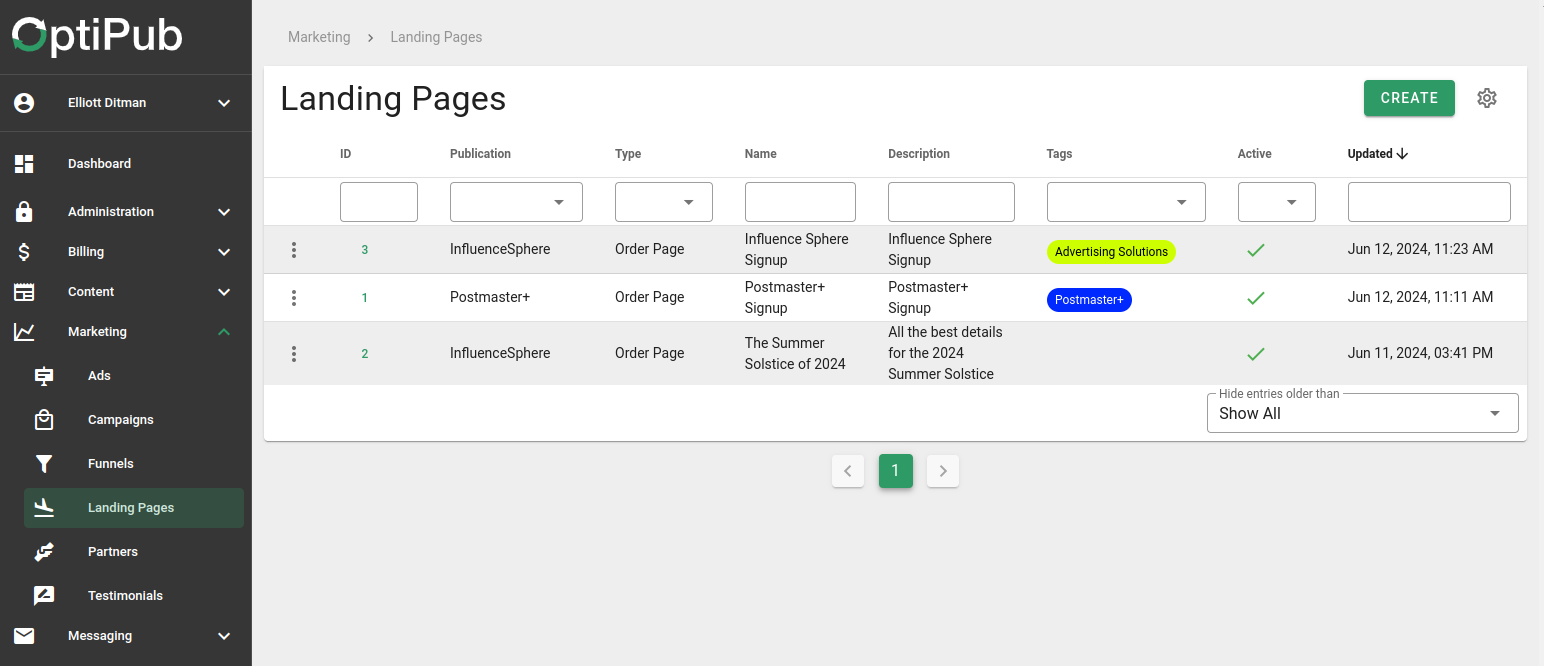
Click the green "CREATE" button.
Step 2. Select the Order Page type.
There are two page types available. Select the "ORDER PAGE" page type.

Choose the "Order Page" type.
Step 3. Choose whether the page is active or not.
The active selector determines whether the order page is live on the site.
If the selector is set to "Active", it have must a "Publish Date" set. If it is not set to "Active", an external link is required.
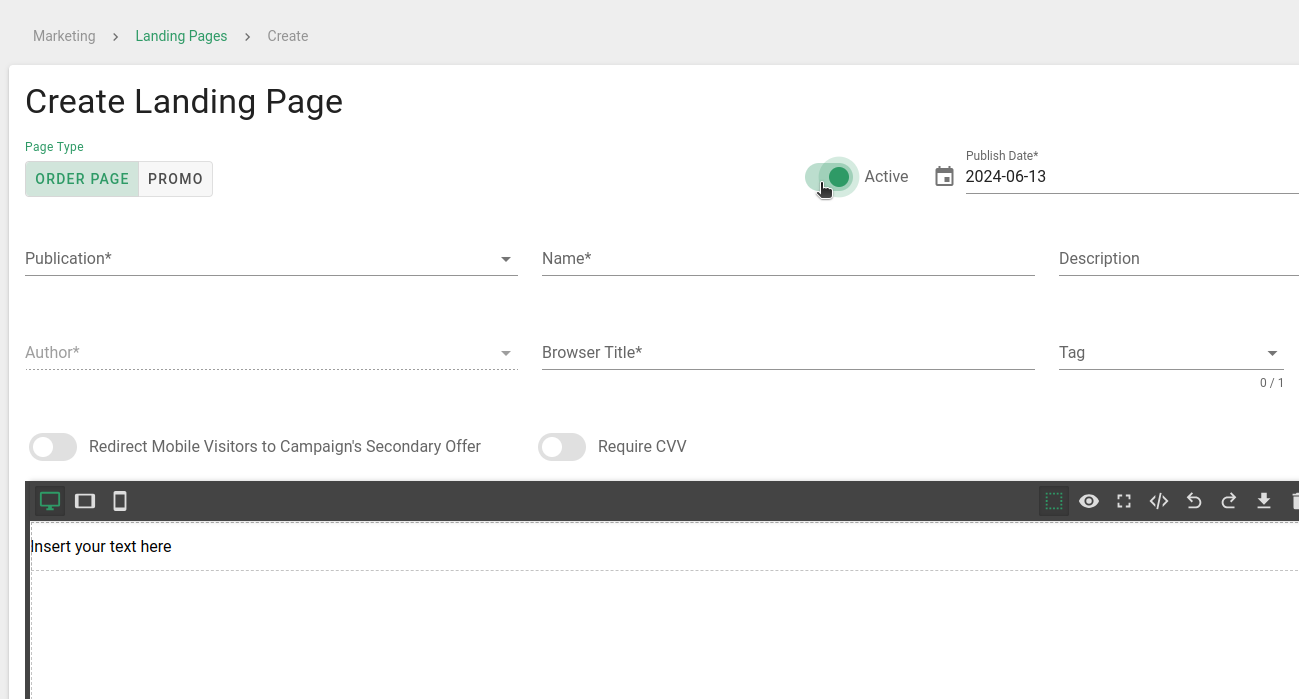
Choose whether the Page is active or not.
Step 4. Choose a publication.
Click the "Publication" selector to open a list of available publications. Choose the desired publication.
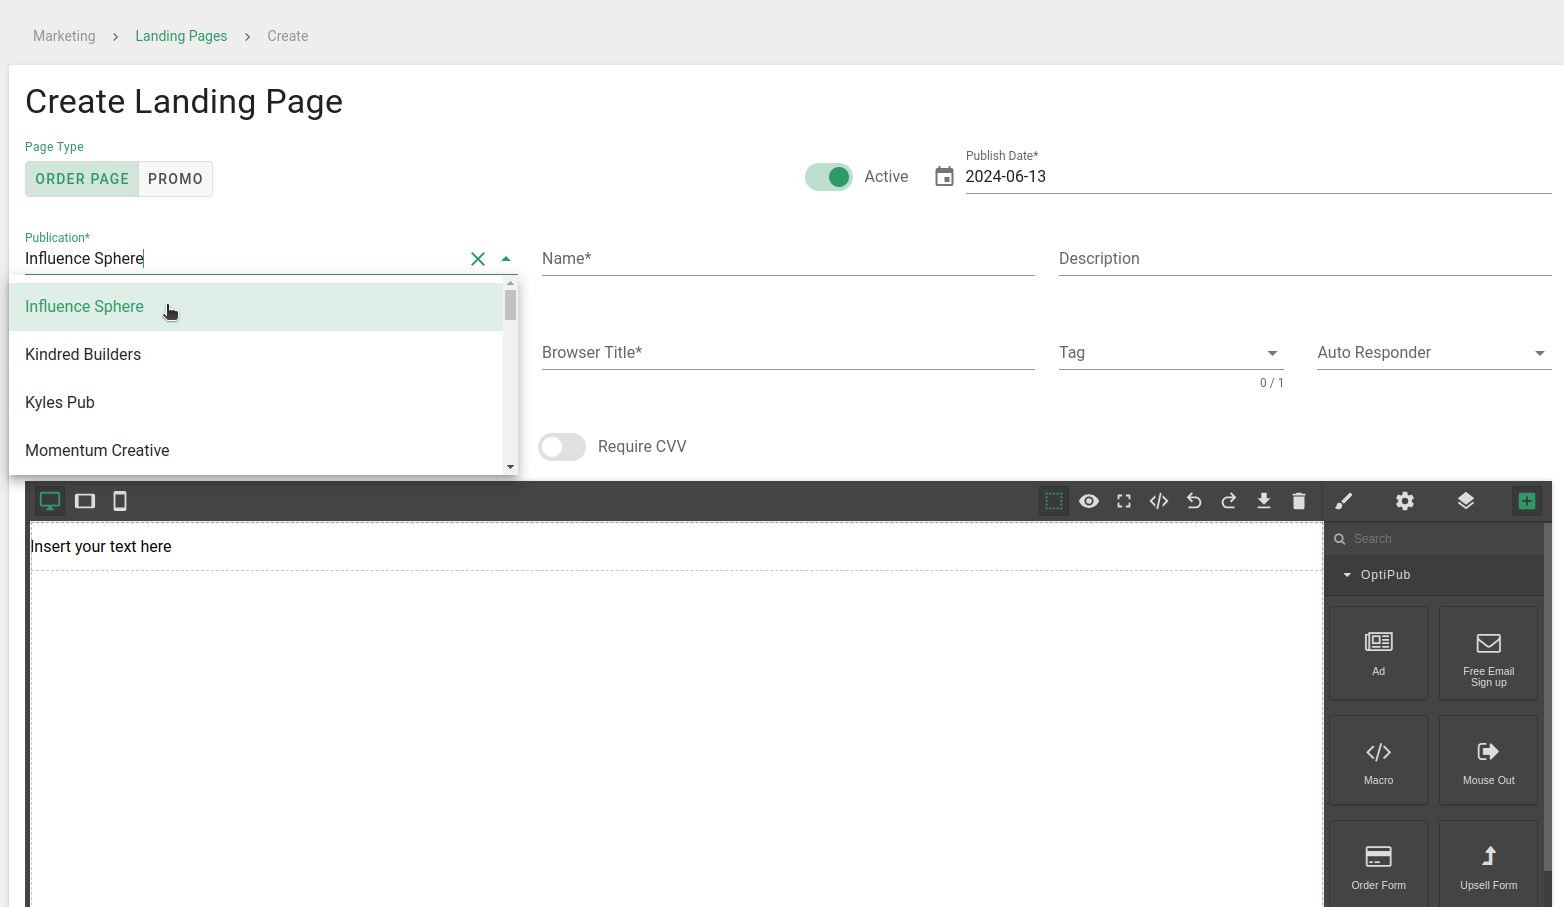
Pick which Publication to associate the Landing Page with.
Step 5. Name the page.
Choose a name for the order page. This is required.
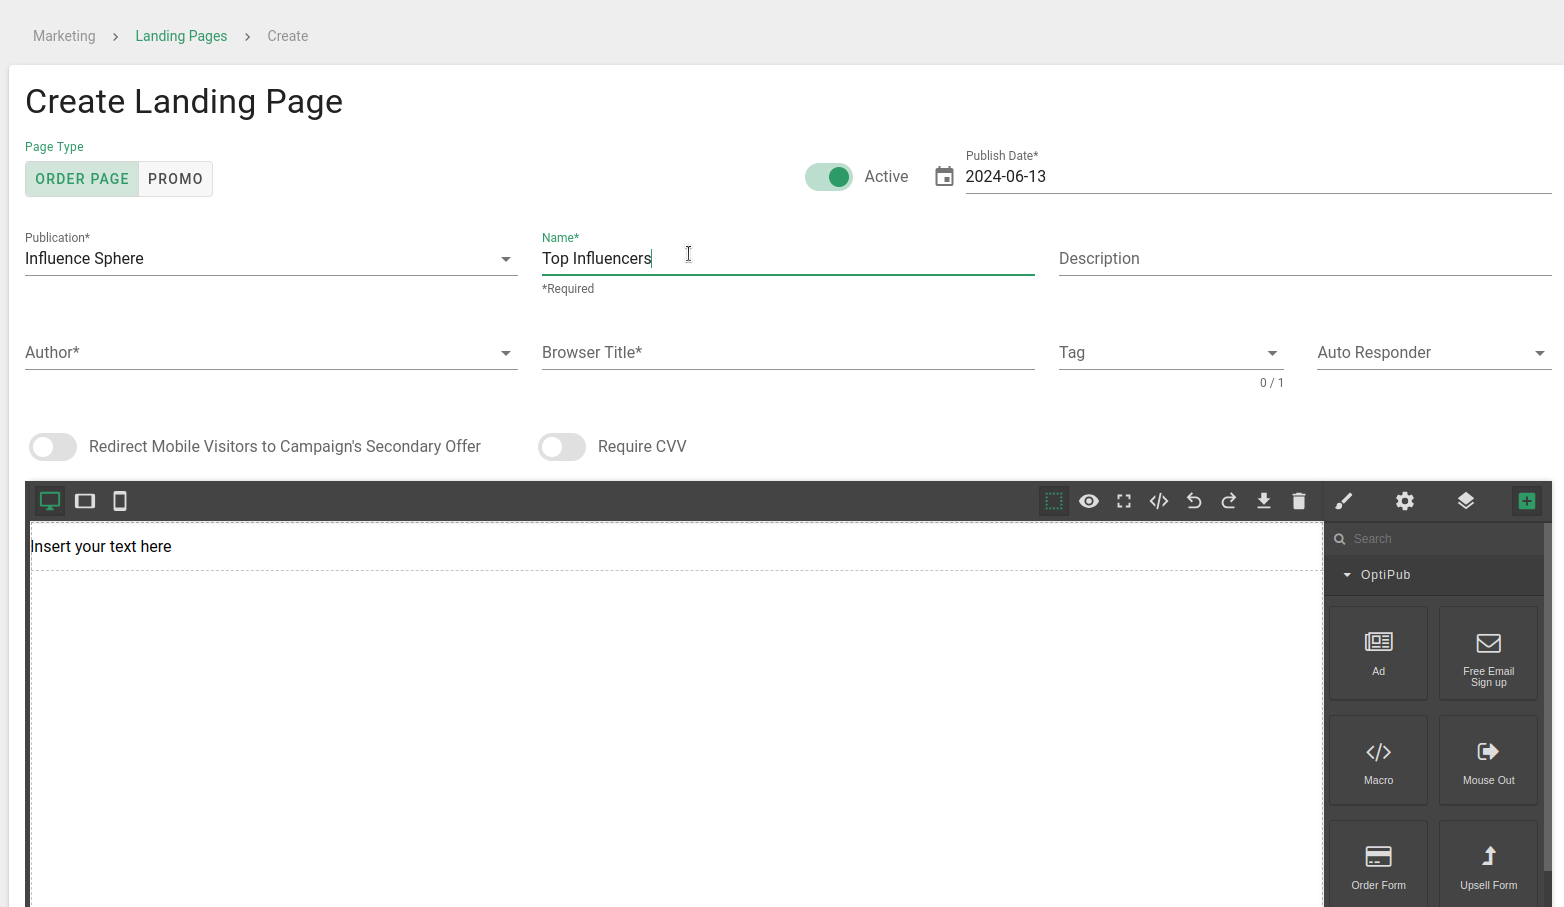
Name the Landing Page.
Step 6. Write a short description.
Write a short blurb in the description box to describe the order page.
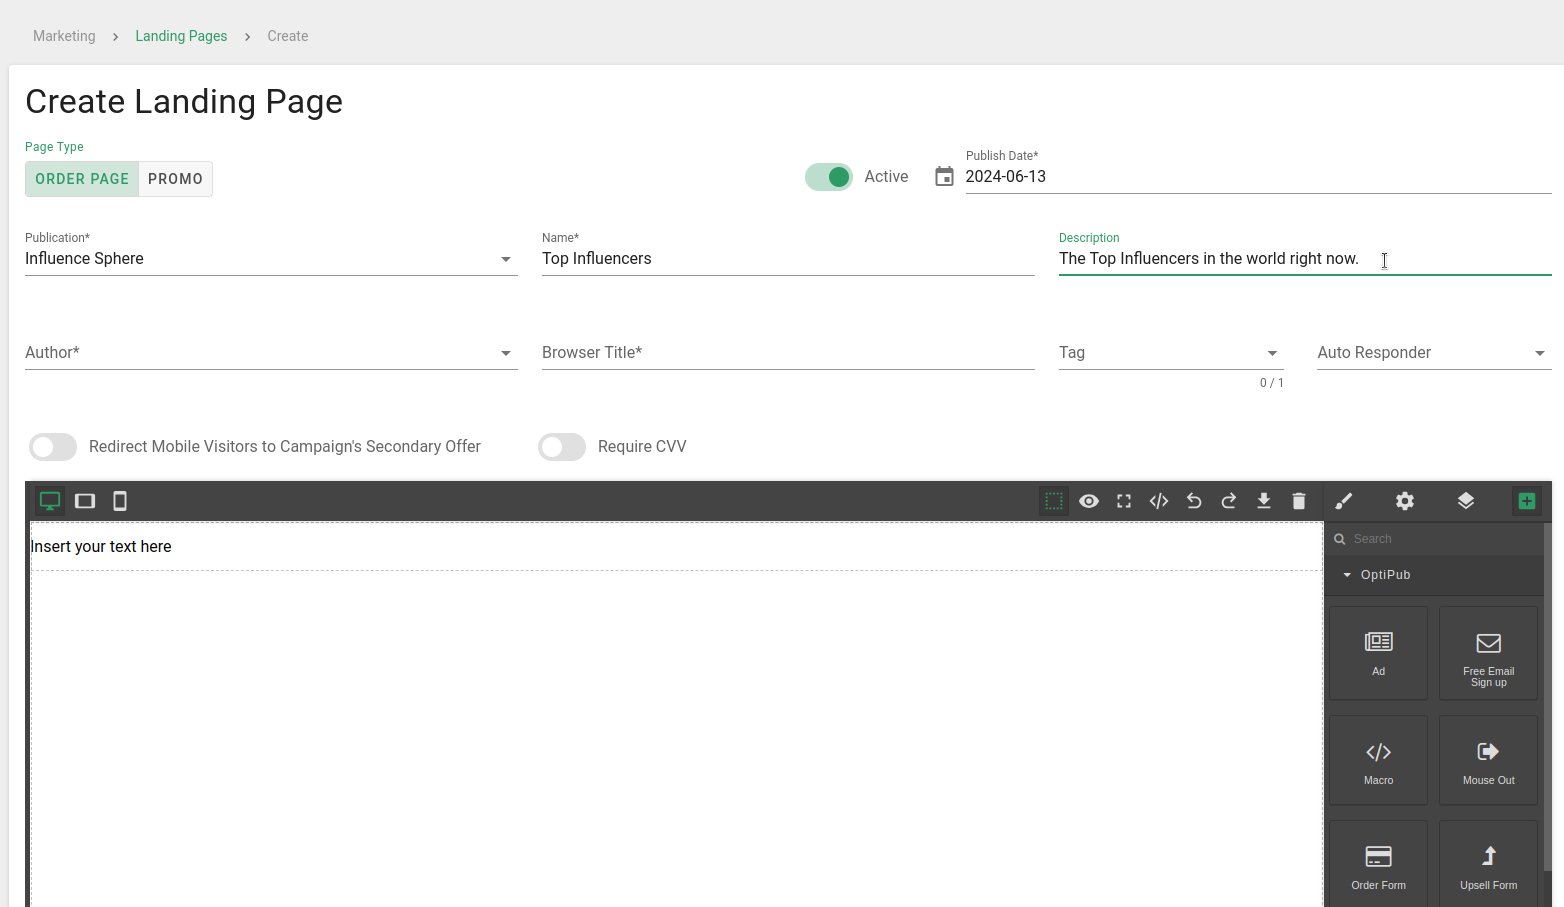
Write a short description.
Step 7. Select an author.
Click the author selector to see a list of authors that are associated with the current publication. Select one.
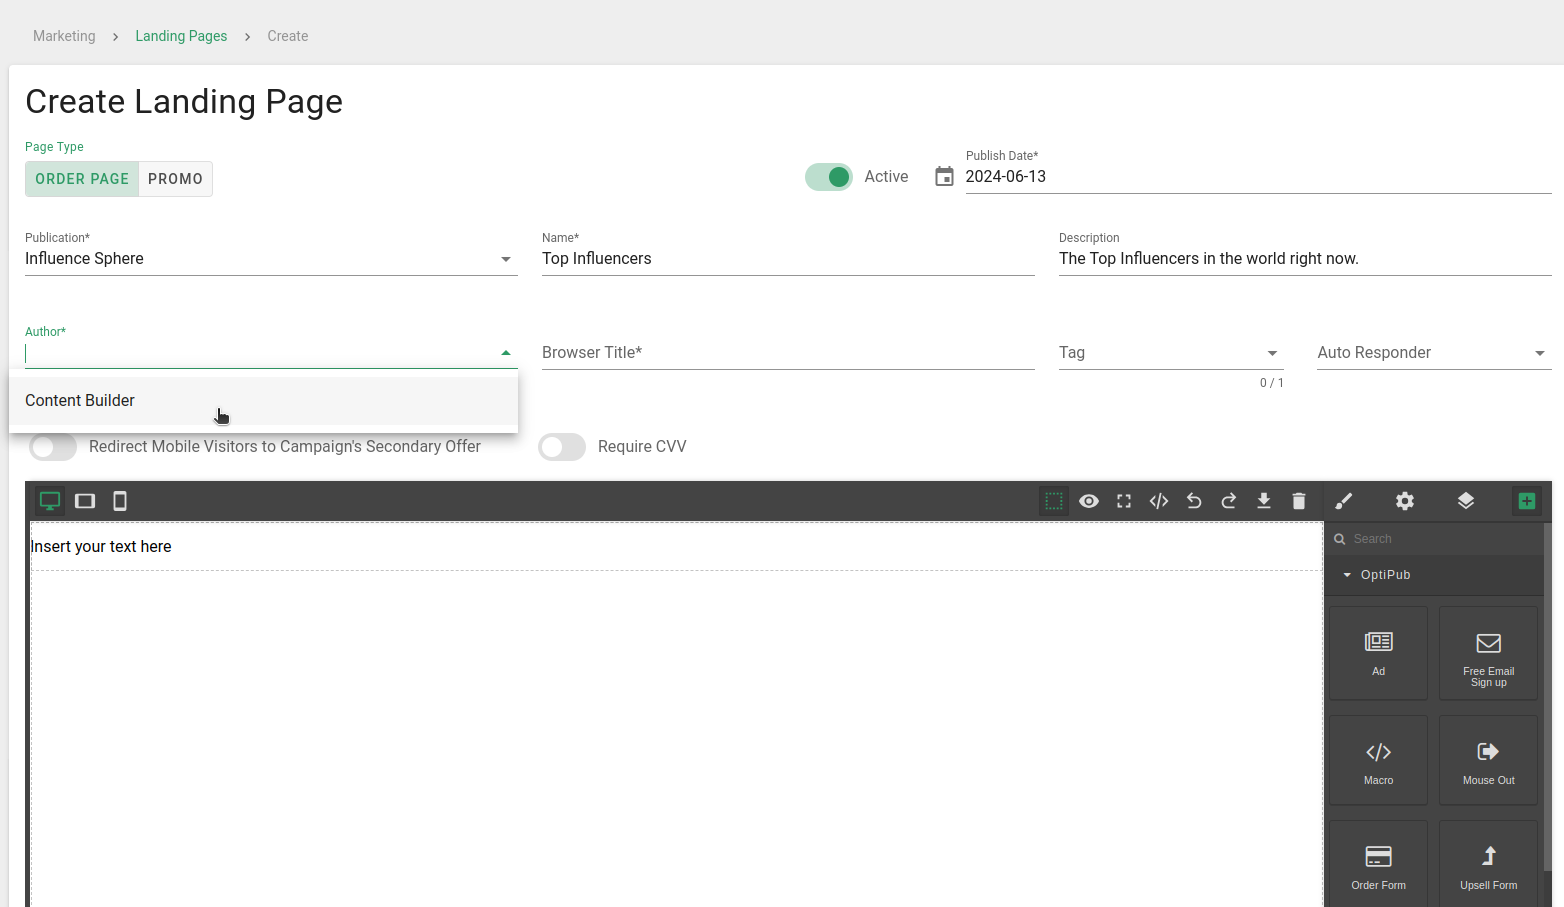
Select an Author from the dropdown of available authors.
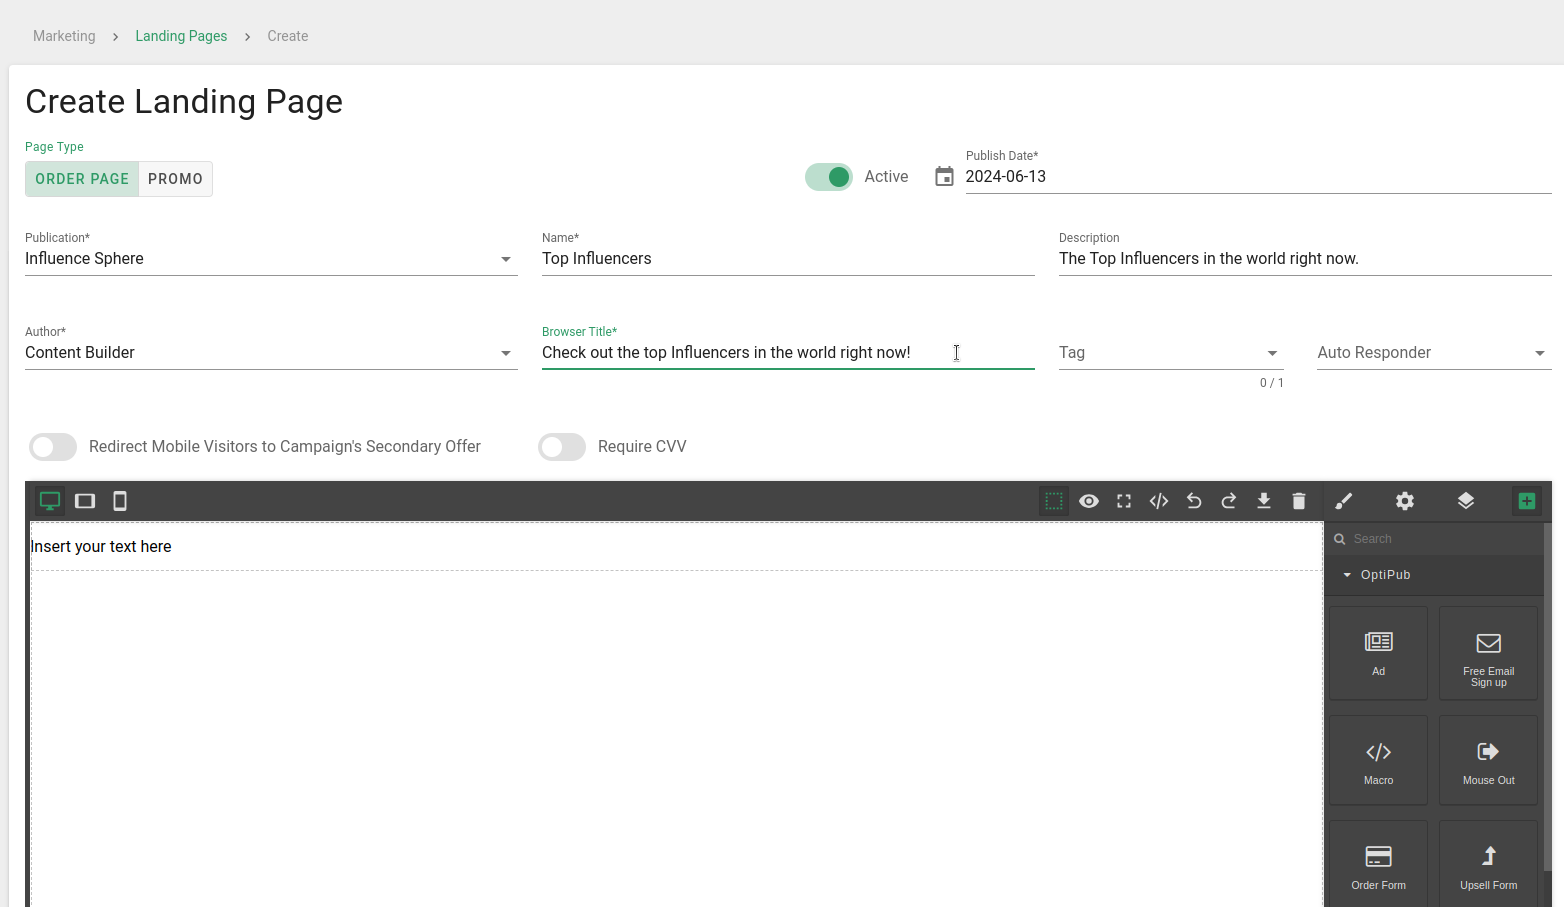
Step 8. Select a browser title.
Chose a browser title for the order page. This will appear in the browser tab.
Step 9. Pick a tag for the page.
Choose a tag from from the tag selector that best describes your order page. These tags are prepopulated from the current OptiPub installation and you can only have one.
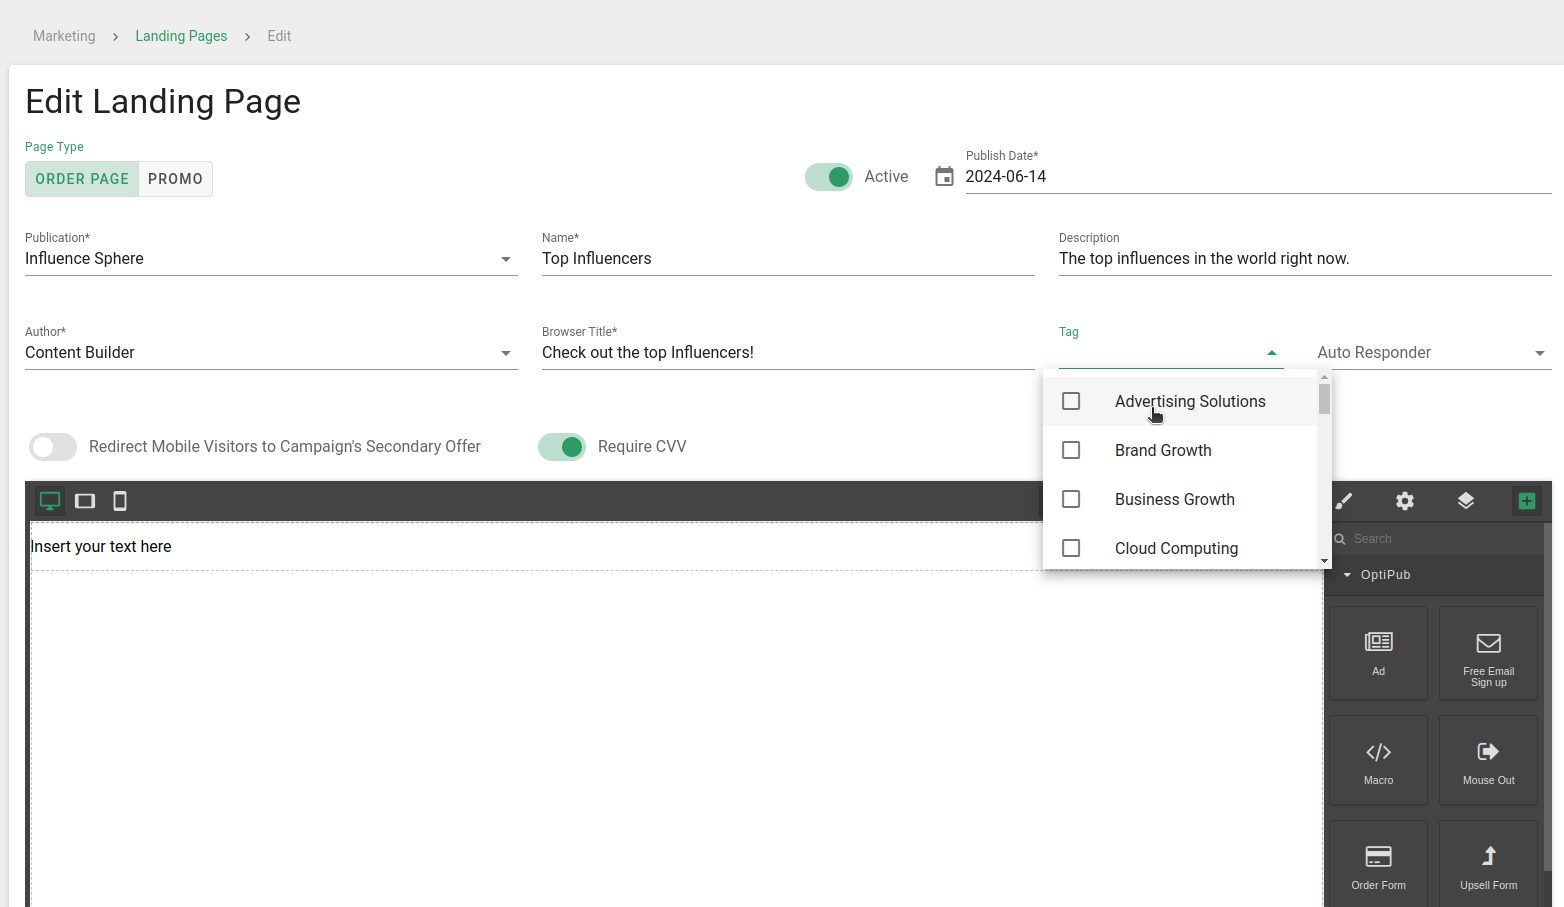
Tag selector with available tags.
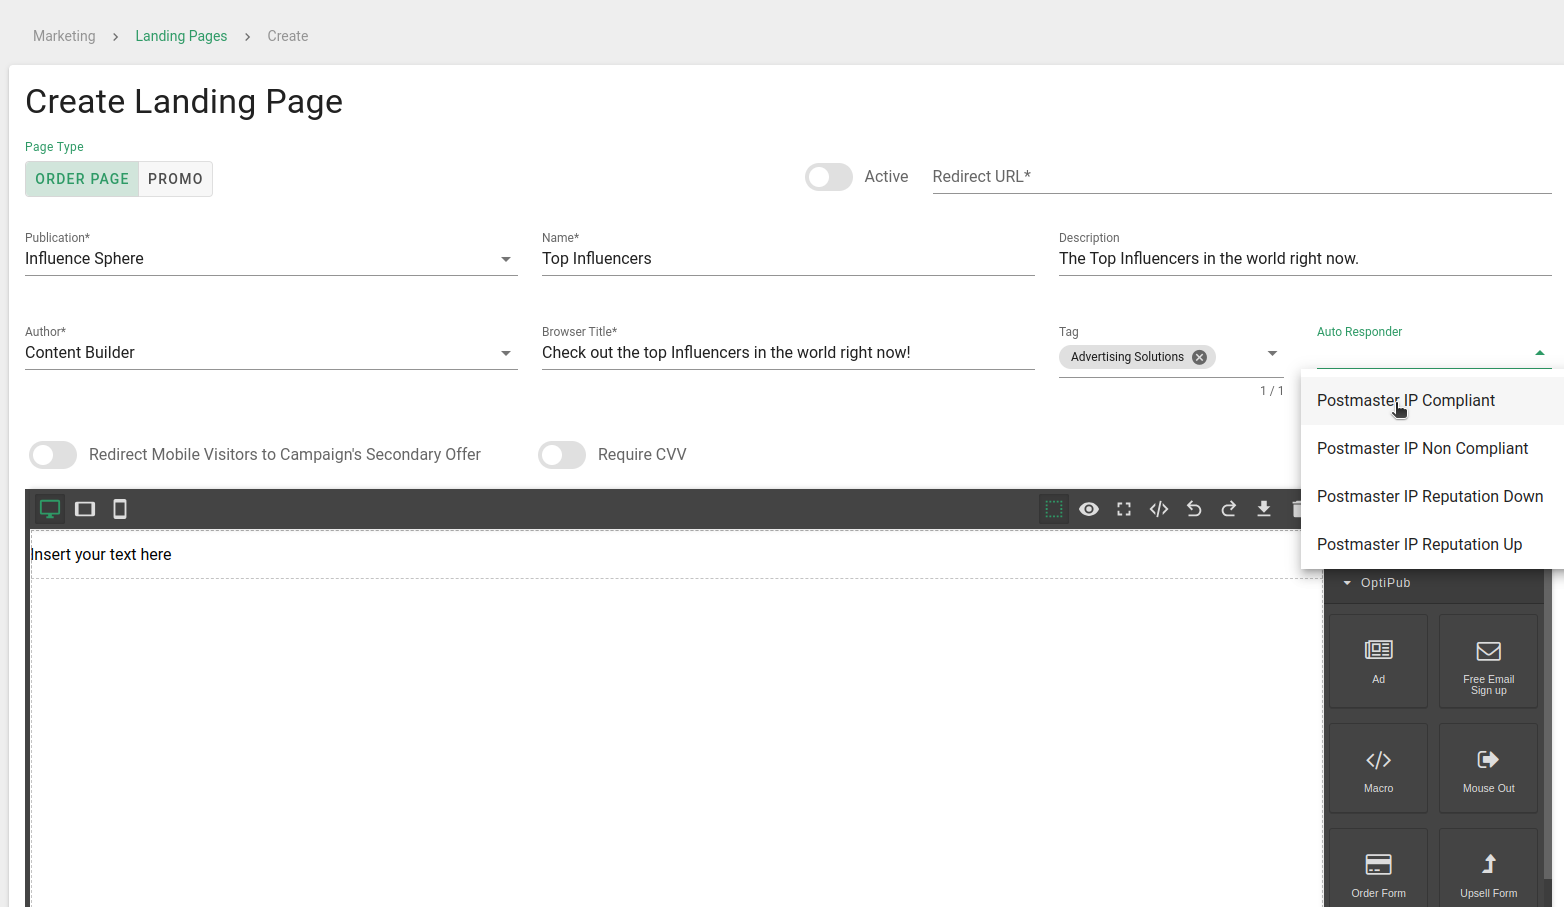
Step 10. Pick an auto responder(optional).
Choose whether to include an auto responder by clicking the "Auto Responder" box and selecting one from the list. This list is prepopulated from the current installation of OptiPub.
Step 11. Choose a 'Follow Up After' time for the Order Page.
The 'Follow Up After' field allows you to choose the amount of time(in minutes) that can pass before an Order Page is considered 'Abandoned'. An 'Abandoned' Order Page is one where a user has not completed an order within the set time.
Once an Order Page is abandoned, you can take action on it using the 'Abandoned' Funnel Event. Learn more about Funnel Events or how to Create a Funnel.
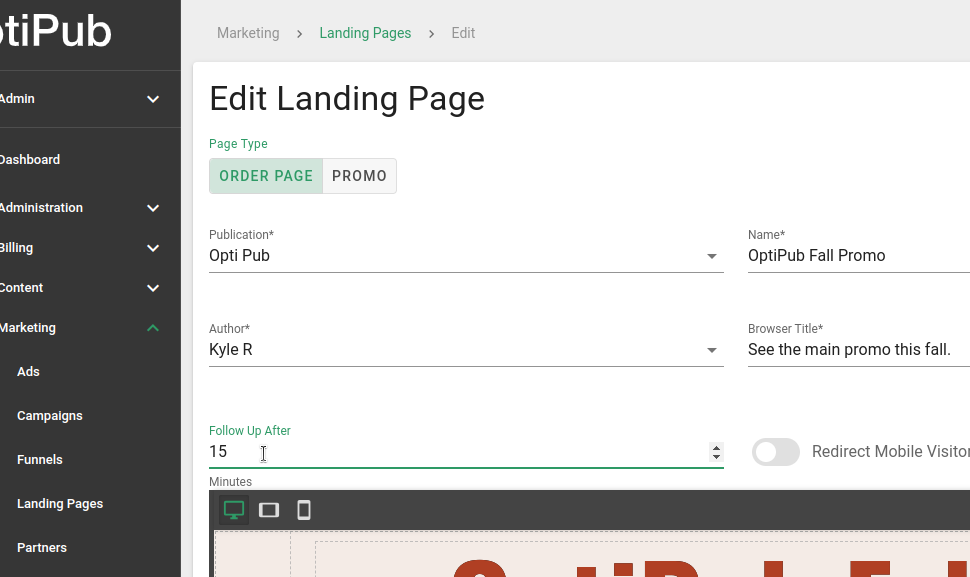
Choosing the amount of minutes it takes for the Landing Page to become 'Abandoned'.
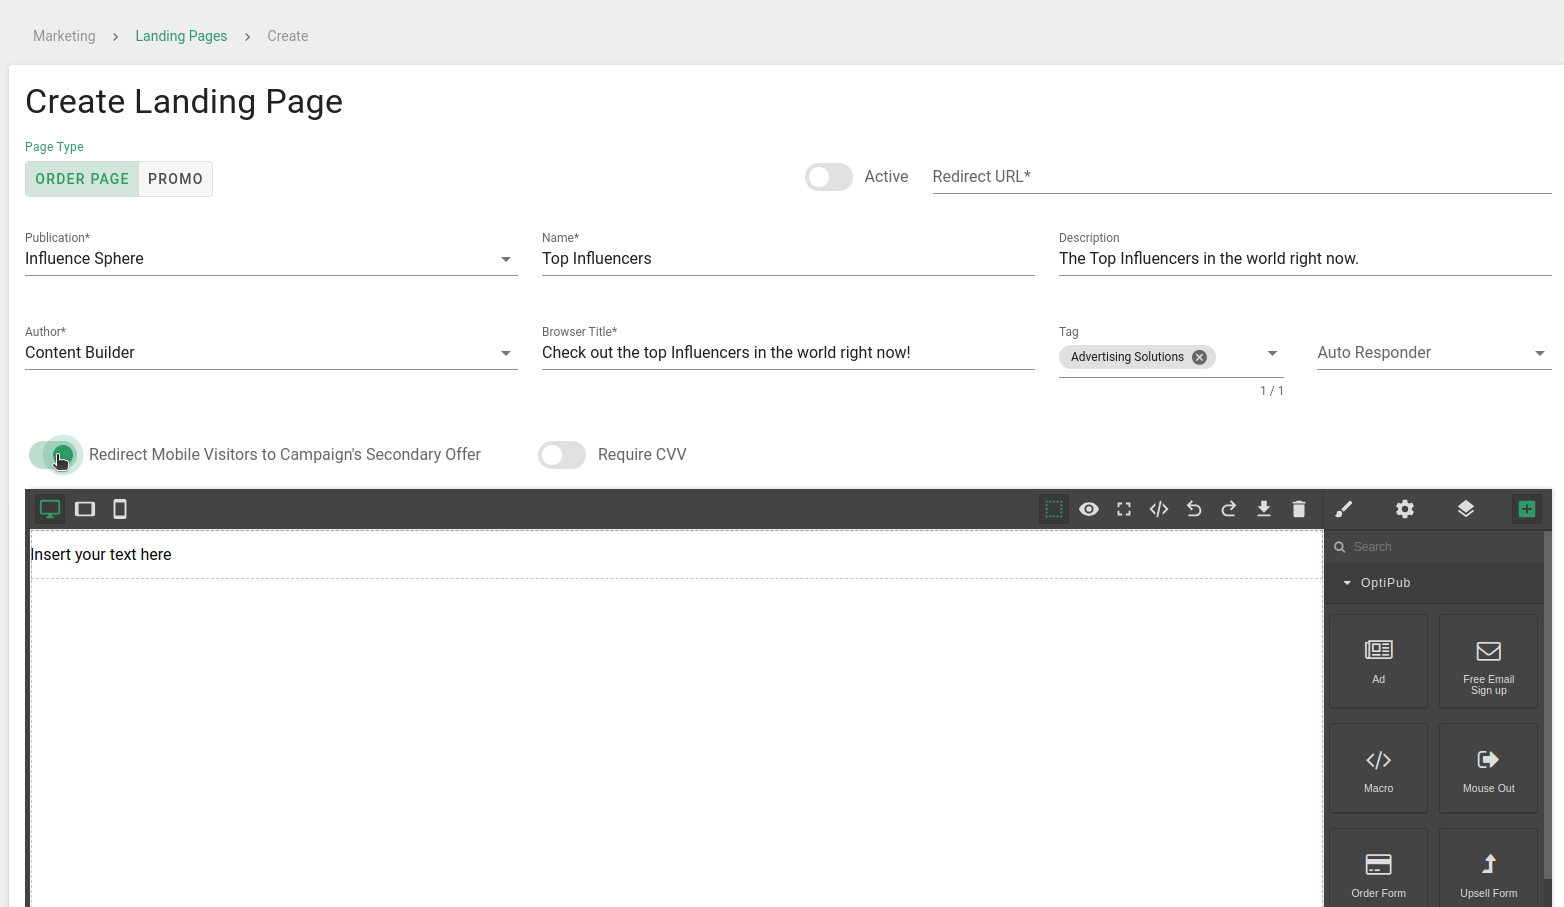
Step 12. Choose whether to redirect mobile visitors to campaign's secondary offer.
The secondary offer is built in the Campaign Builder.
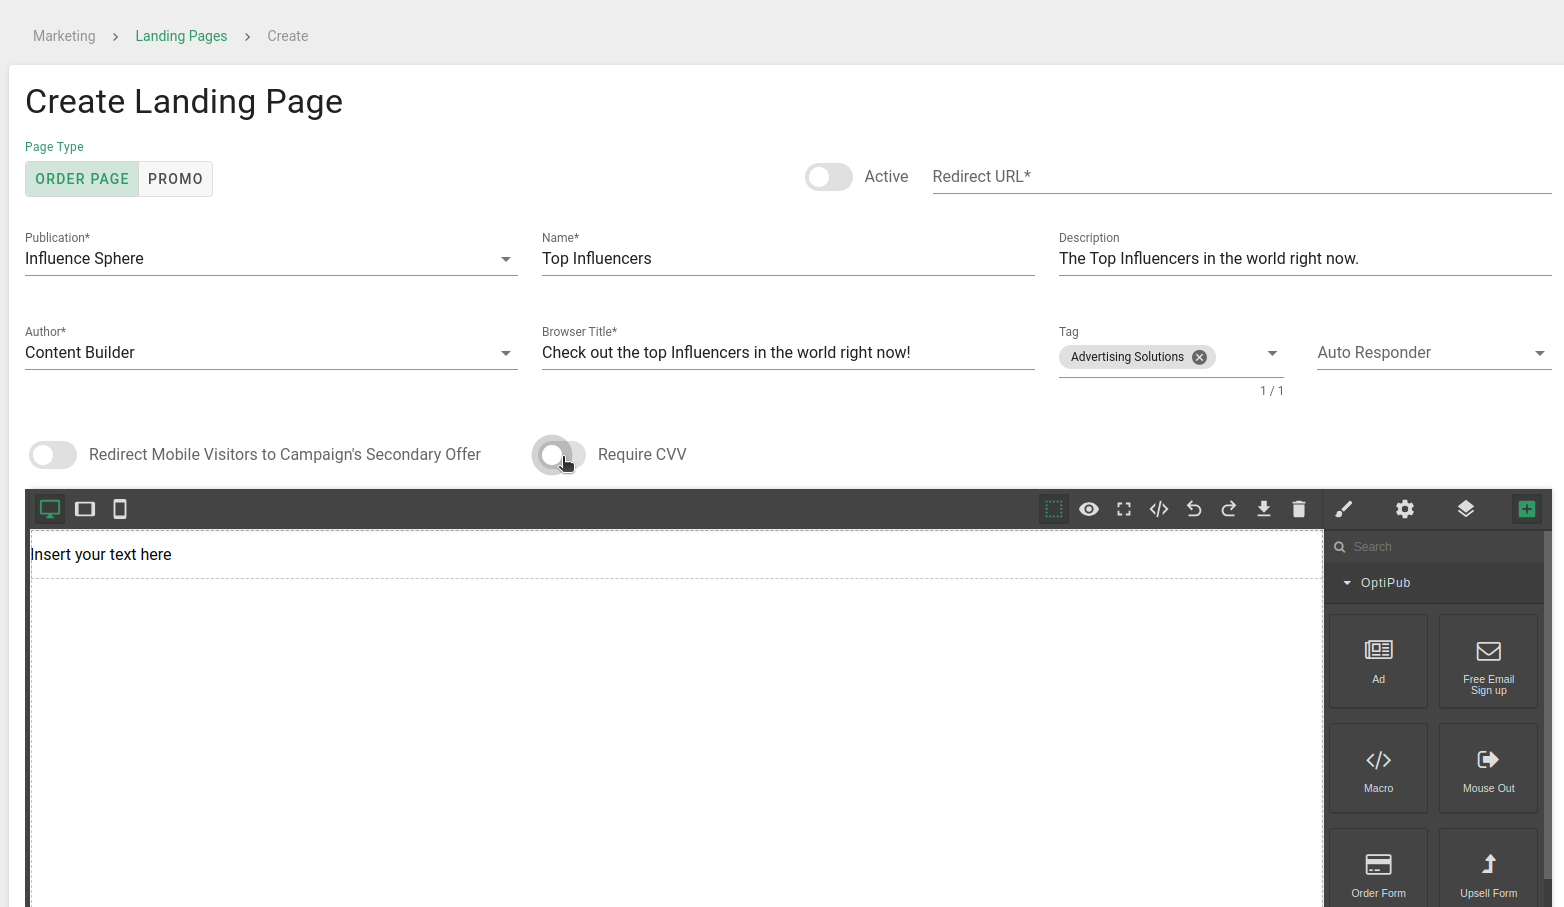
Step 13. Choose whether to require a CVV.
Requiring a CVV (card verification value) offers more protection against fraud and unauthorized transactions.
Step 14. Build the order page in the editor.
Use the powerful built-in editor to construct the order page. To begin, click the "+" button at the rightmost side of the editor.
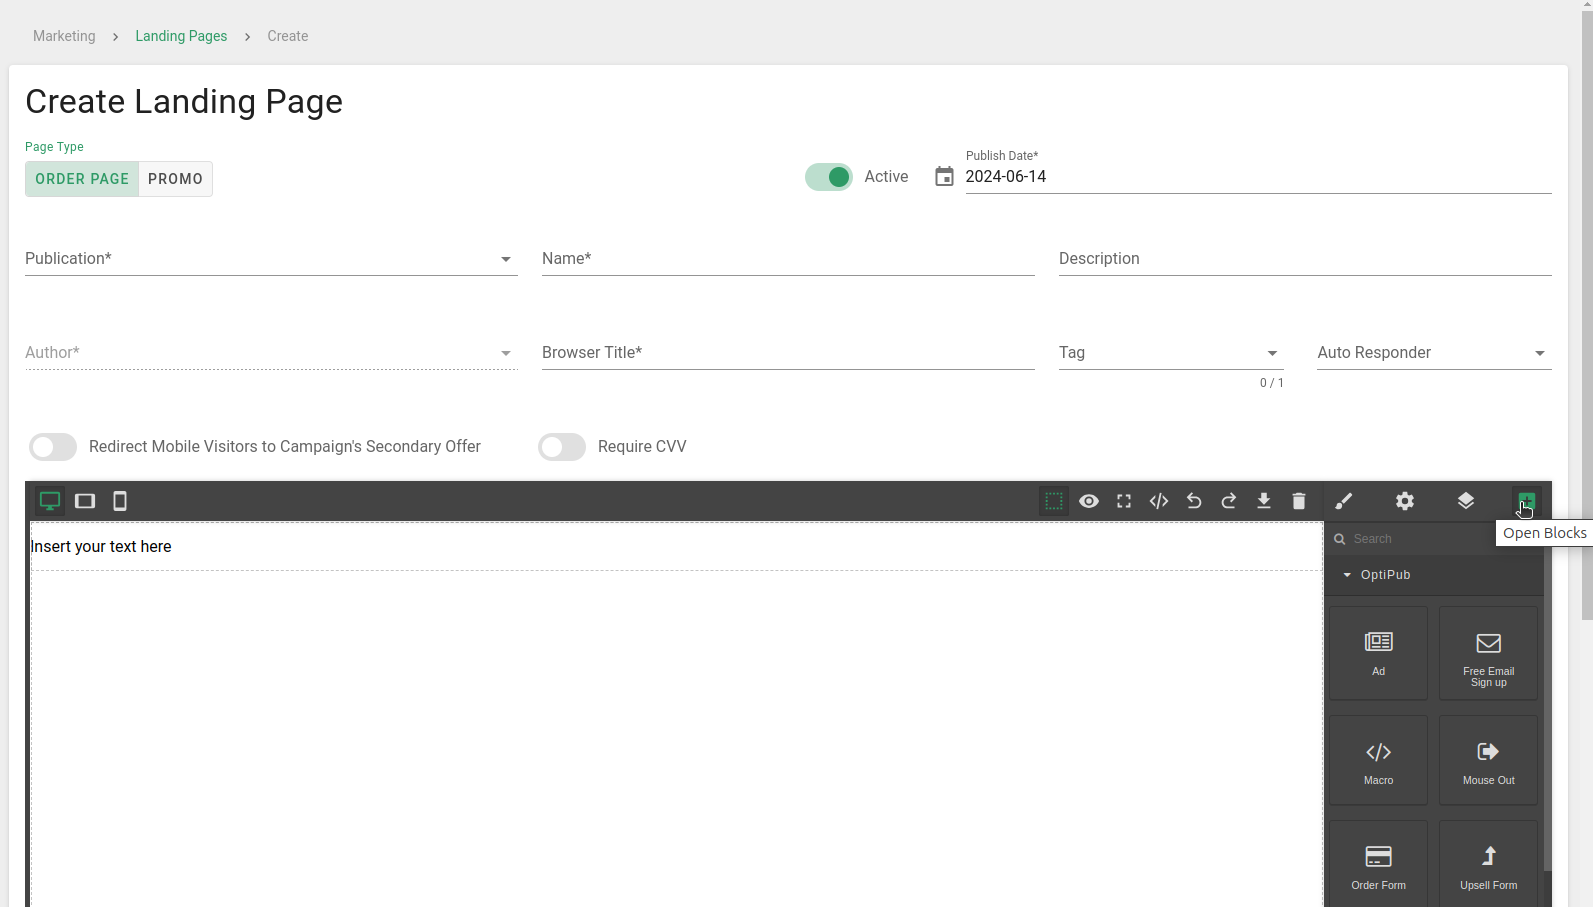
Click the "+" button on the right side of the editor to open the blocks menu.
This will open the block menu which contains a large variety of prebuilt templates. These templates will allow you to control the layout, design, and content of the page.
For the order page, you are most likely interested in the order form template.
- From the blocks menu, navigate to the OptiPub section.
- Click and drag the "Order Form" block into the white canvas of the content editor.
- The template of the order form will appear on the canvas and a popup with some options will appear. Enter the correct details or click on the canvas to proceed.
- The order form can be directly edited. If another type of block is needed, it can be dragged onto the editor in the same way. If a block is not needed, it can be deleted by clicking the trash can icon that appears if the block is clicked.
Creating an order form with the built-in editor.
Step 15. Save the order page.
Click the green "SAVE" button to finalize the changes and save the order page. Or click the grey "SAVE & CLOSE" button to save and return to the main "Landing Pages" screen.
Updated 4 months ago